Export and import data
On this page
Export and import both start from a list view. Export writes records to a spreadsheet file; import reads a spreadsheet and creates or updates records. The example below uses contacts, but the same entries exist on every list. Export is an access right of its own: administrators have it, other users need it granted (the Export right, group Allowed, on their user form under ). Import needs the right to create records in that app.
Before you start
- Filter the list first: an export follows the current search and grouping.
- For an import, prepare the file in a spreadsheet: one row per record, one column per field, the first row holding the column names. Excel files are recommended; .csv files also work.
- The surest template for an import is an export of the same list made with I want to update data (import-compatible export) ticked: its columns match the fields, and its External ID column lets you update the same records later.
Steps
- Open ; the Contacts list opens. Apply the filters you need.
- For a quick copy, click Actions then Export All. An XLSX file with the columns shown in the list, for every record matching the search, downloads at once.
- To choose the fields, tick the records to export (the box at the start of each row; the box in the header ticks the whole page), then click Actions and Export.
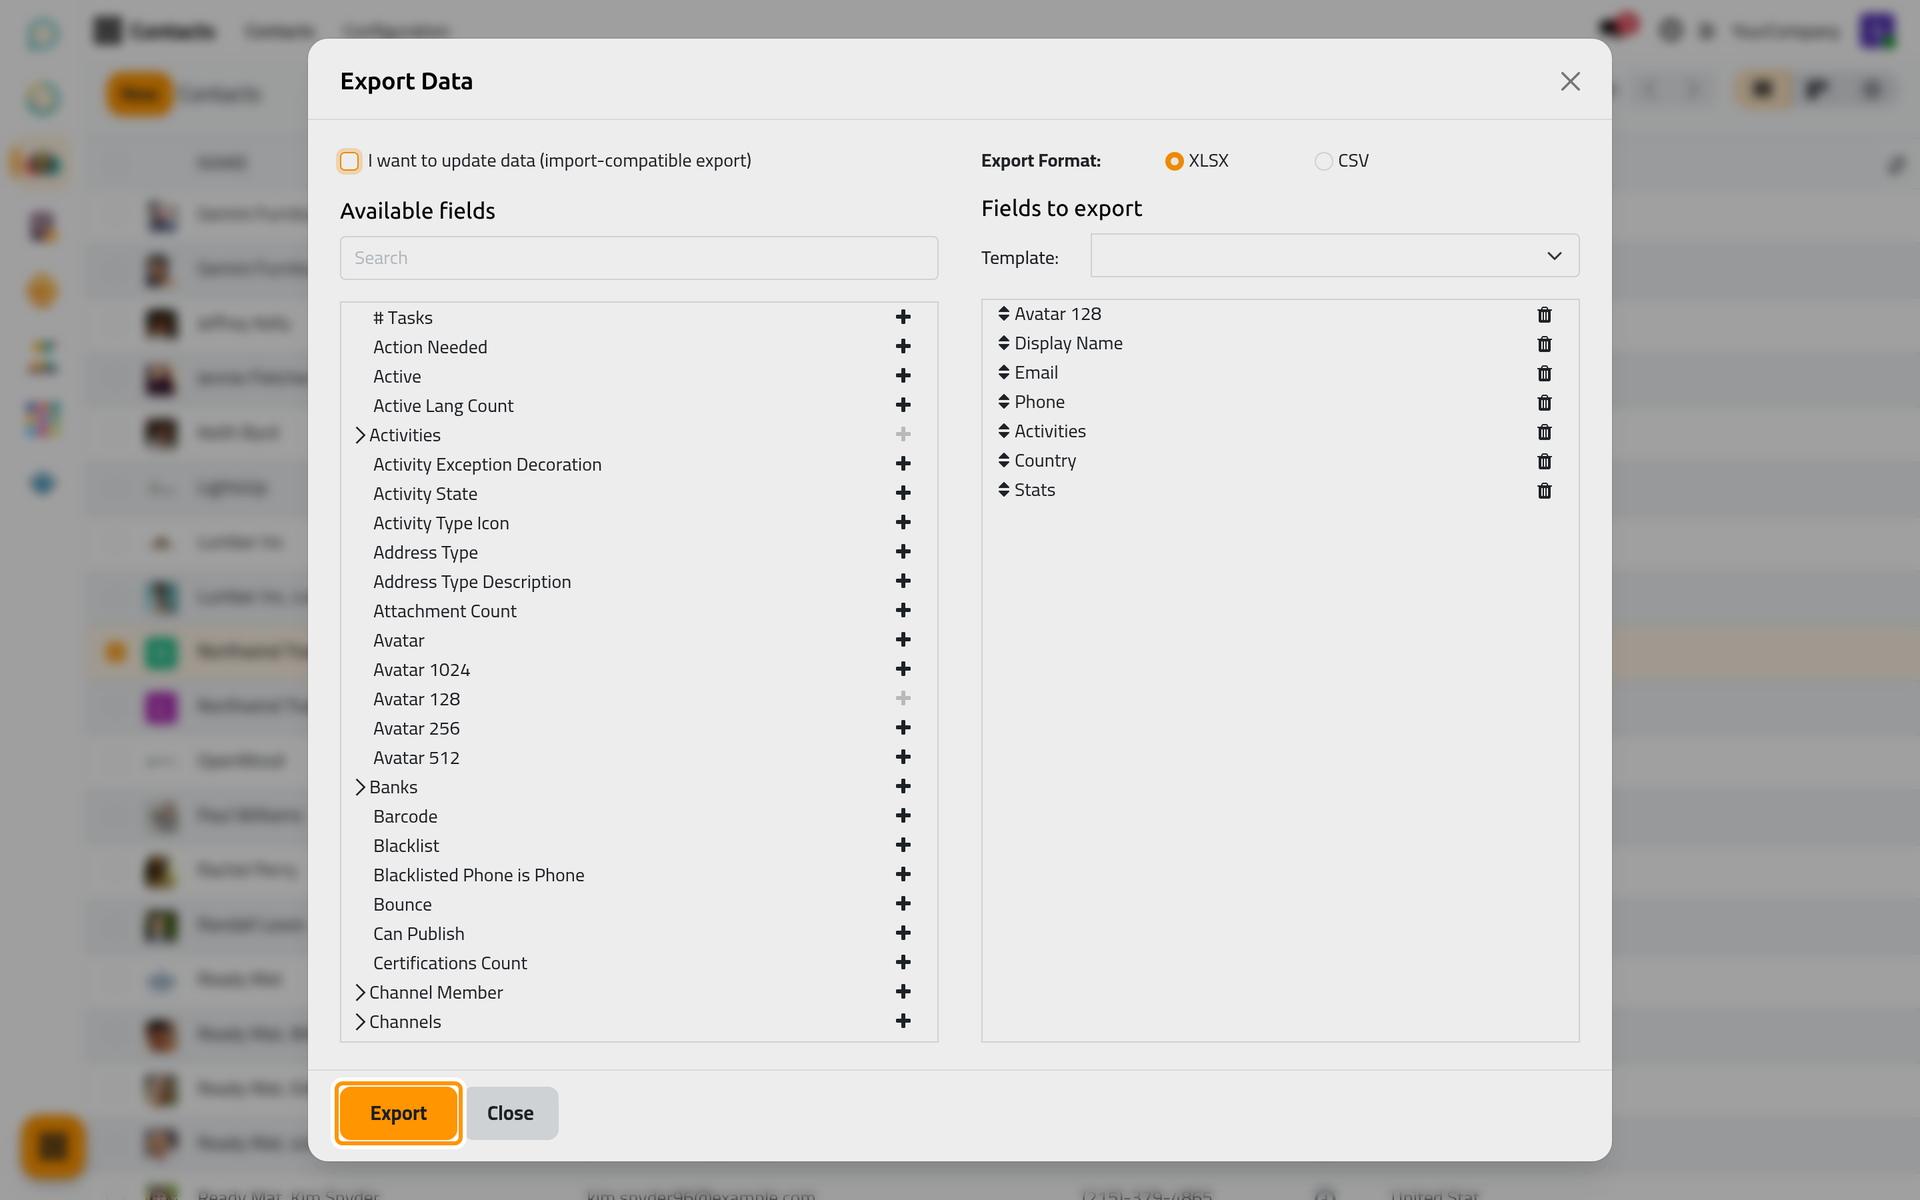
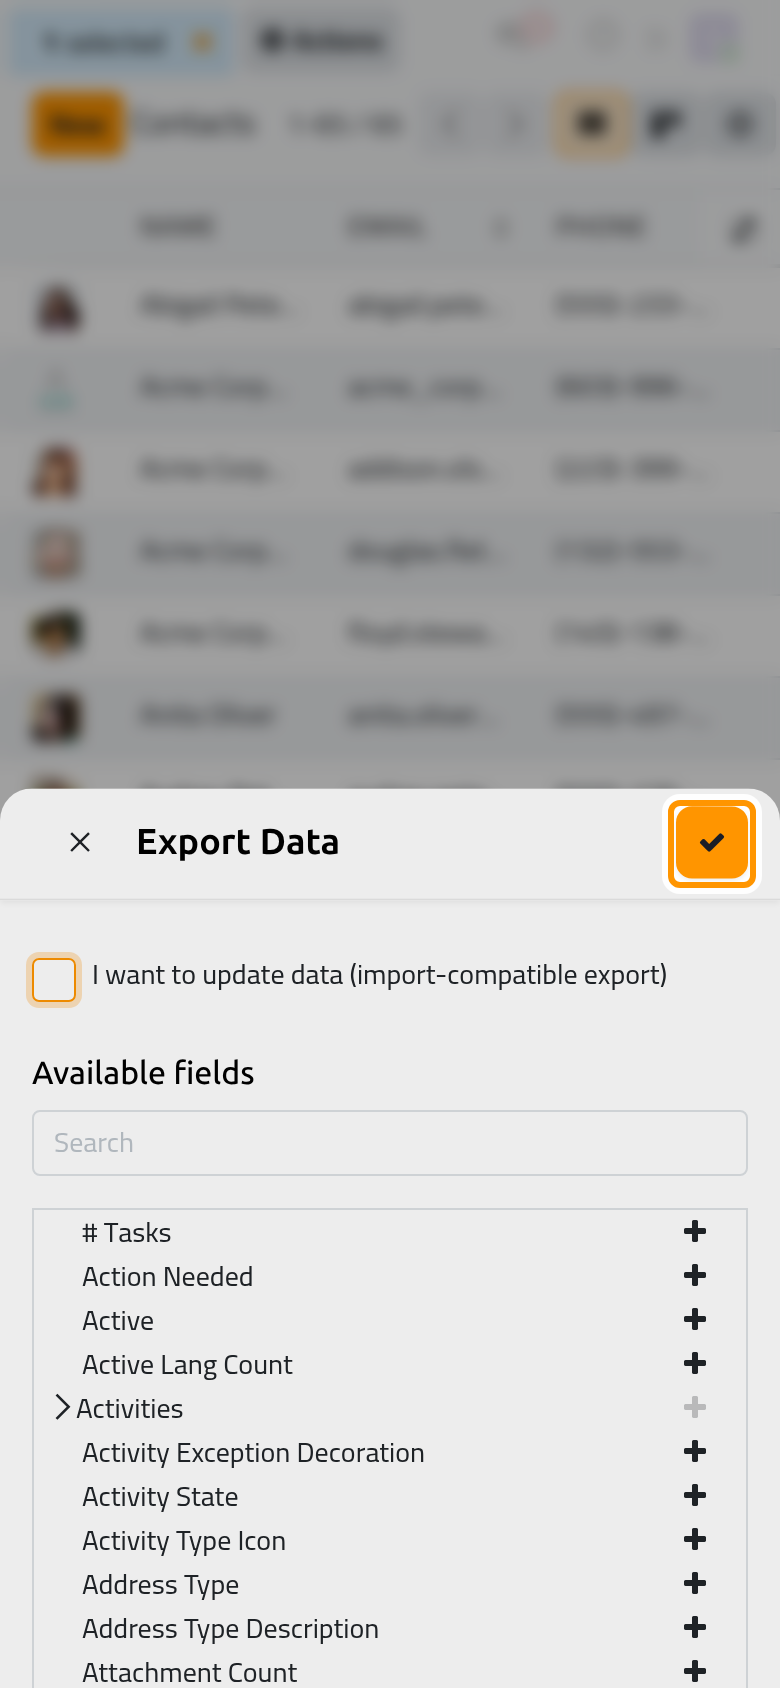
- In the Export Data dialog, choose the Export Format: (XLSX or CSV). Find a field under Available fields (the Search box filters them) and add it with its plus sign (Select field); expand a relation (Show sub-fields) to reach the fields of a linked record. Reorder the list under Fields to export by dragging, or drop a field with its trash icon (Remove field). Tick I want to update data (import-compatible export) for a file you can import back. To reuse the selection later, open Template:, choose New template, name it under Save as: and save it. Click Export; Close leaves without exporting.
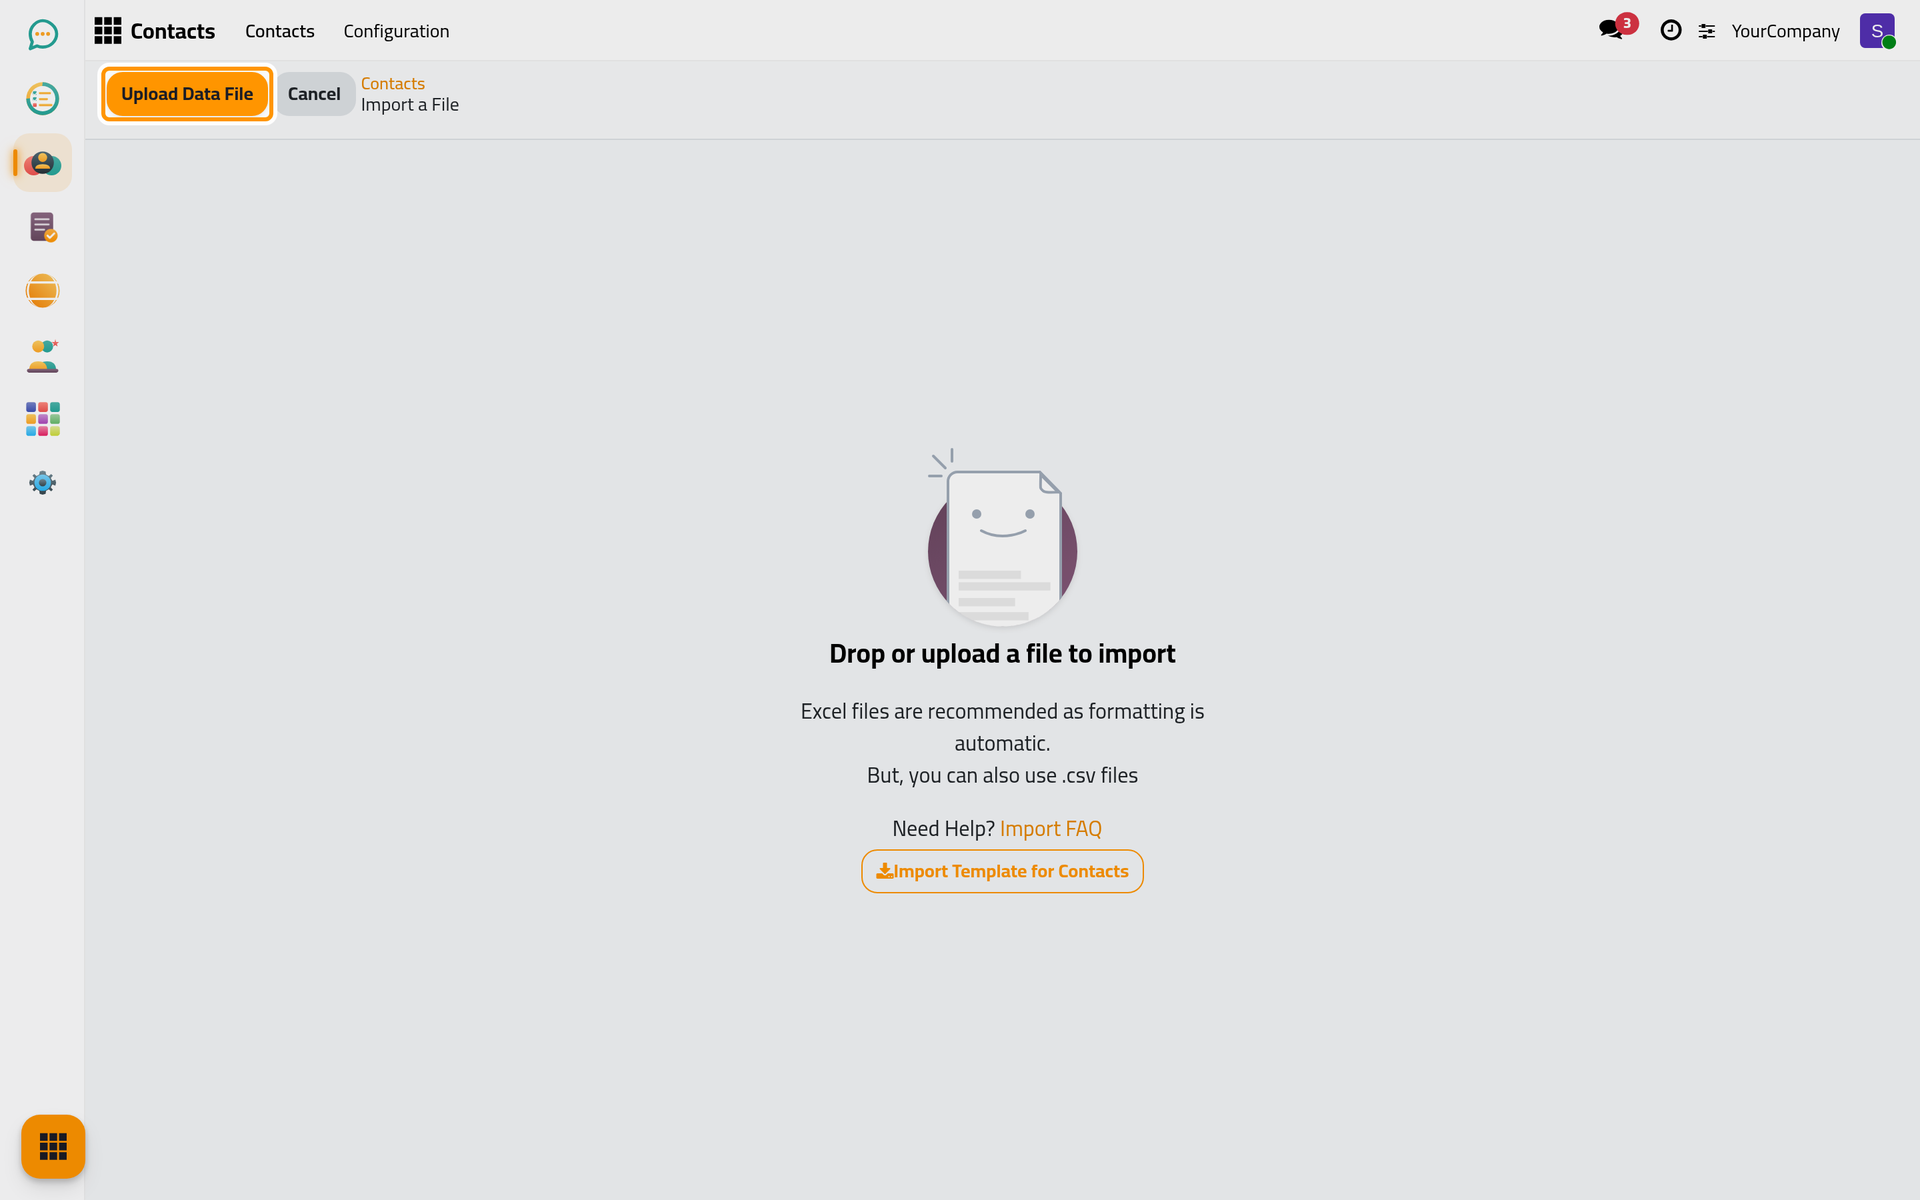
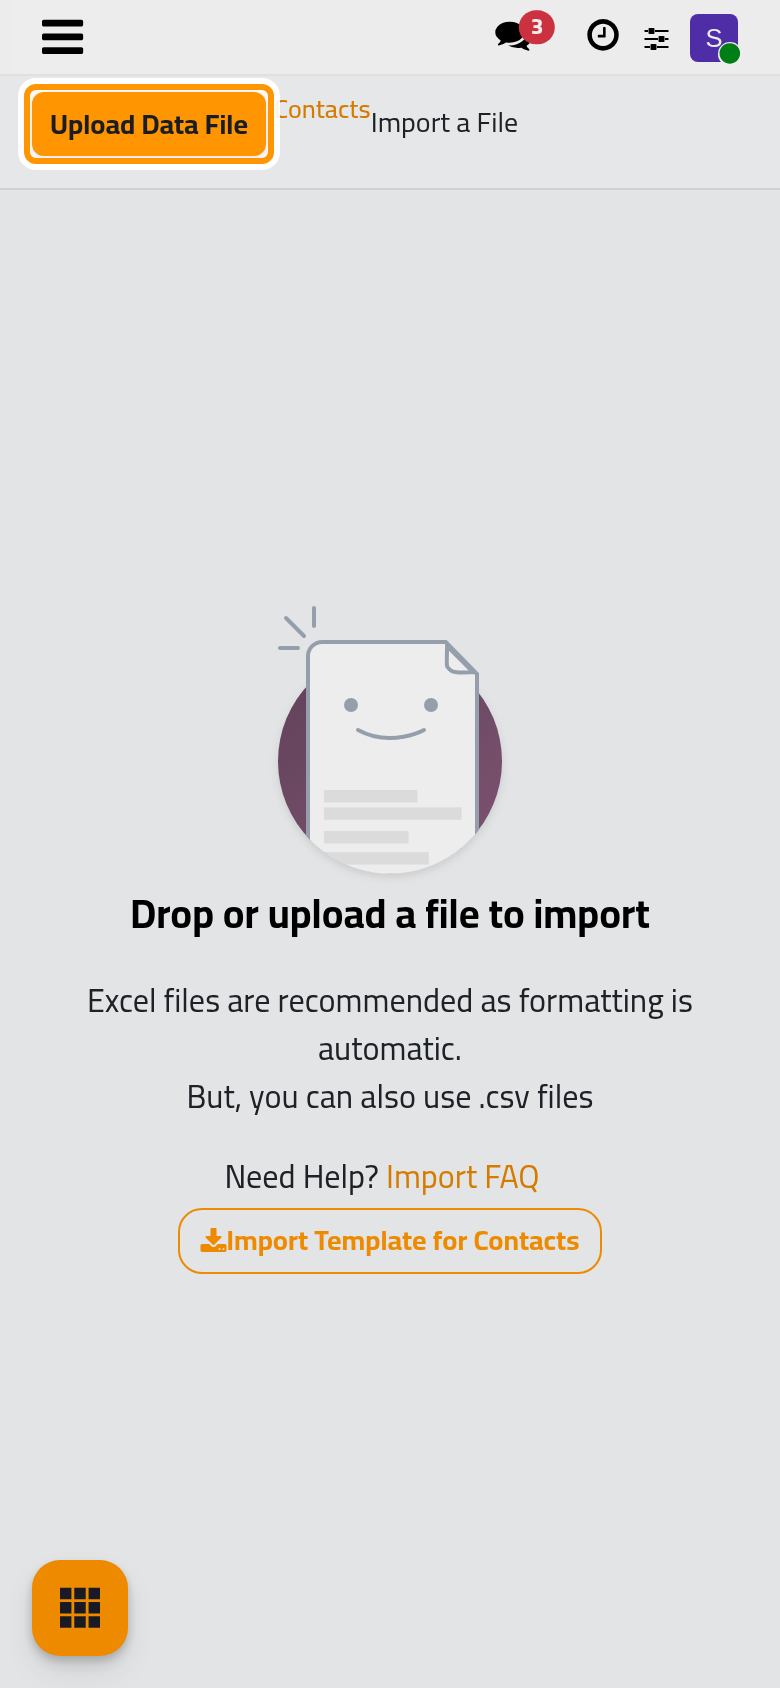
- To import, click Actions then Import records. The Import a File screen opens with Drop or upload a file to import. Click Upload Data File and pick your file (.csv, .xls, .xlsx, .xlsm or .ods), or drop it on the screen.
- Check the mapping: each File Column is matched to a field in the Jaah Field column; a column marked To import, select a field... is ignored unless you pick a field for it; Preview shows the first values and Comments points out problems. On the side, Formatting holds Use first row as header and, for CSV files, Separator: and Encoding:; Advanced holds Track history during import and Allow matching with subfields; Batch Import holds Batch limit and Start at line. Load Data File replaces the file.
- Click Test. Nothing is written yet: the result is Everything seems valid. or The file contains blocking errors (see below) with every error listed. Fix the file or the mapping and test again.
- Click Import. A notification confirms how many records were imported, for example "12 records successfully imported". A large file is loaded in batches; if the import pauses, Resume continues it. Cancel returns to the list.
Test before you import
An import cannot be undone. Run Test until it reports Everything seems valid., and keep an export of the list taken before the import.
Result
An export gives you a file with exactly the fields you selected, one row per record, in the format you chose. An import creates one record per row; when the file carries an External ID column that matches existing records, those records are updated instead of duplicated. Open the list again to check the result.
FAQ
Why do I not see Export or Export All?
The export right is missing from your account. Administrators have it; ask one to grant the Export right (the Allowed group) on your user form. Import does not depend on it.
Which format should I choose?
XLSX, unless the tool that will read the file only accepts CSV. At import, an XLSX file needs no settings (the screen says Excel files are recommended as formatting is automatic.), while a CSV file must have the right Separator: and Encoding: chosen under Formatting.
How do I update existing records instead of creating duplicates?
Export them with I want to update data (import-compatible export) ticked, edit the file without touching the External ID column, and import it: each row updates the record its External ID points to.
Can I undo an import?
No. Use Test first, try a small file, and keep the export you made before changing anything. Records created by mistake have to be deleted or archived by hand.
Was this page helpful?
Thank you for your feedback.