The first minute on the platform
On this page
This tutorial is for anyone who has just received an account on Jaah. In a few minutes you go through the screens that every app shares, using the Contacts app as the playground. You need a user account; creating contacts also needs the Contact access right set to Creation, which the person who manages users can grant. Nothing here is specific to one business app, so what you learn applies to invoices, requests or projects alike.
What you will do
- Sign in and understand the home menu and the app sidebar.
- Open Contacts, read a record in the list and in the form.
- Create a contact and let the form save itself.
- Write an internal note and plan an activity in the chatter.
- Search and filter a list.
- Set your language, the look of the interface and your password, then sign out.
Part 1: Sign in
Open the address your administrator gave you. The sign-in card shows the form on one side and a Welcome panel on the other. Type your address in Email and your password in Password, then click Log in. If two-factor authentication is active on your account, a second screen asks for the code of your authenticator app before you get in.
Part 2: Find your way around
After sign-in the platform opens on the home menu: a grid of all the apps you may use, over a wallpaper. The search box Search applications... already has the focus; typing anywhere on the page goes into it and the grid shrinks to the matching apps. Click an app to open it.
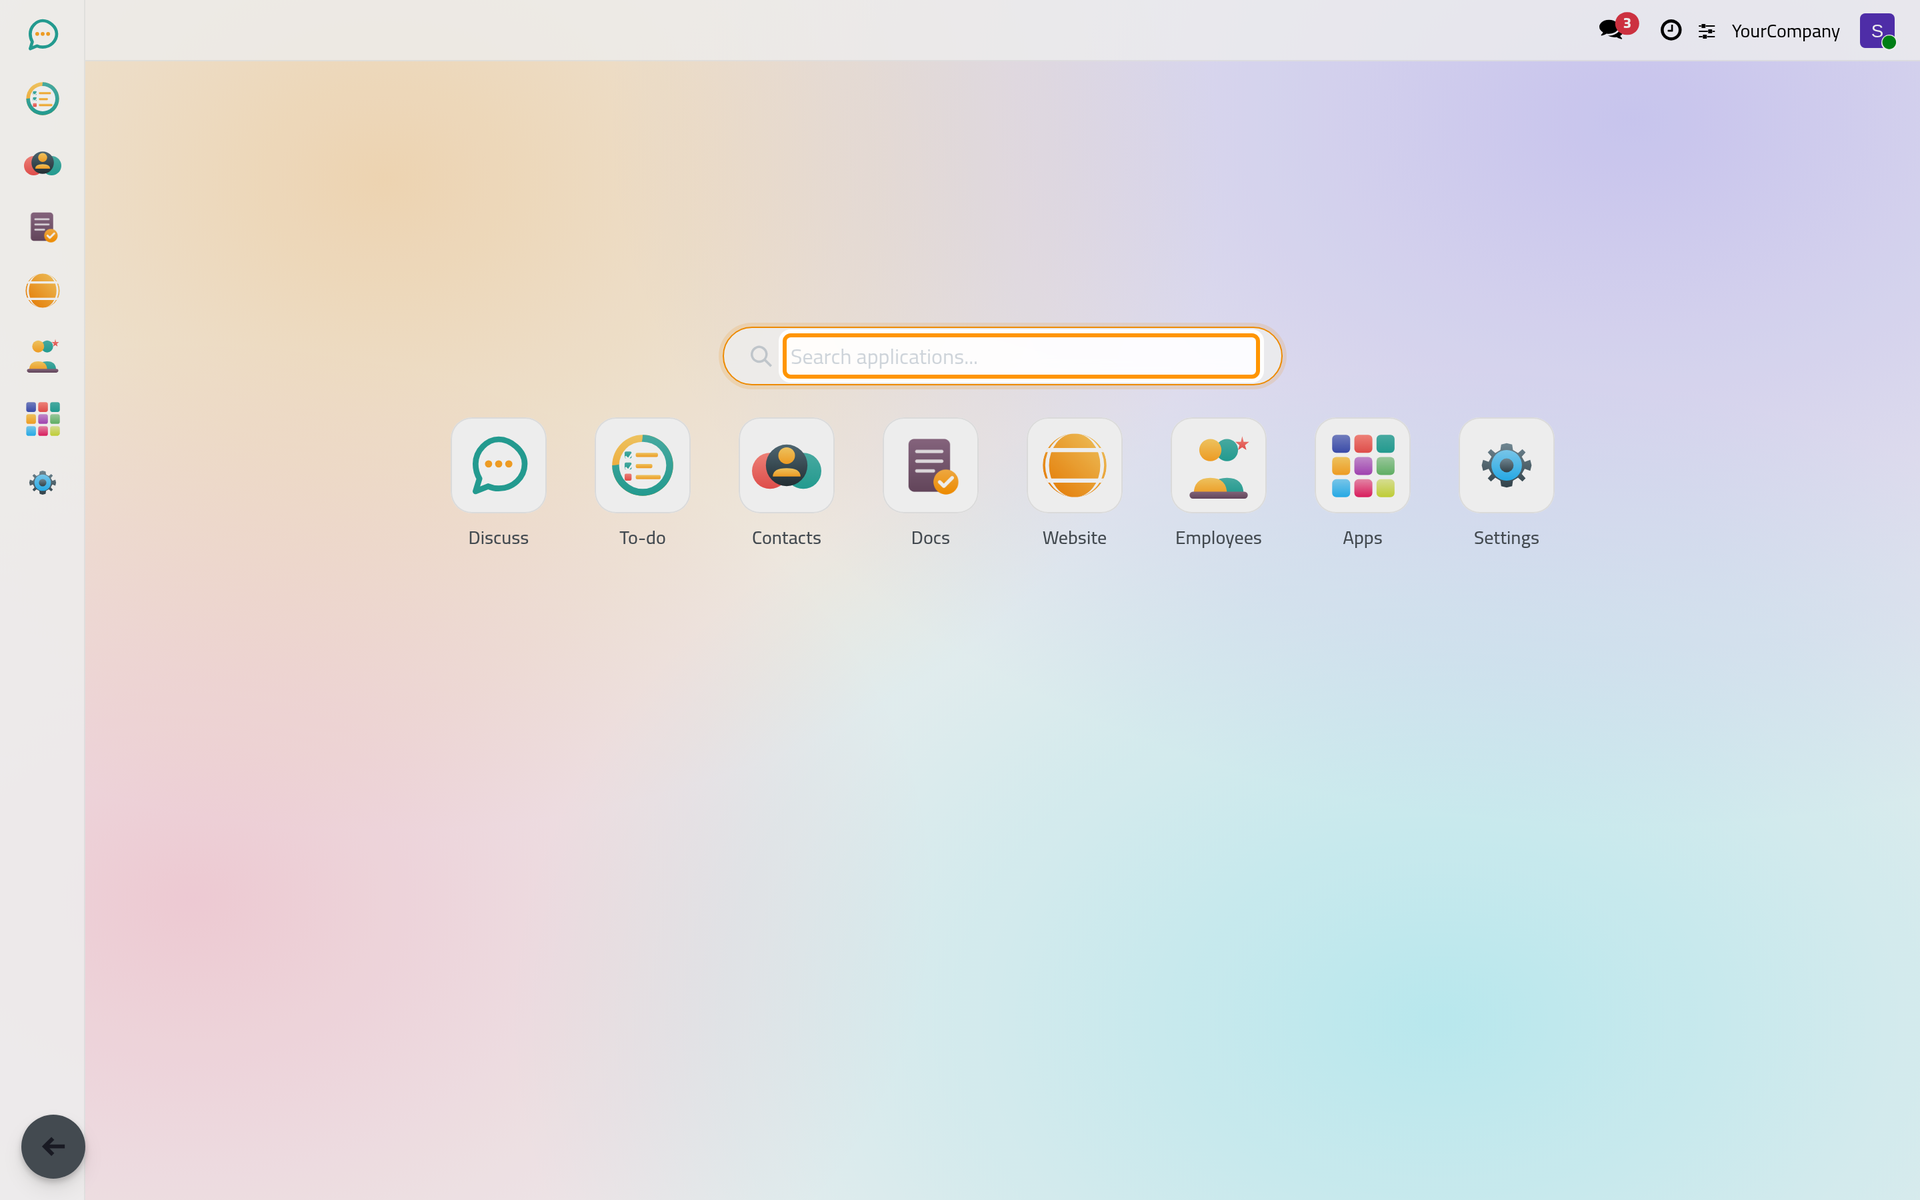
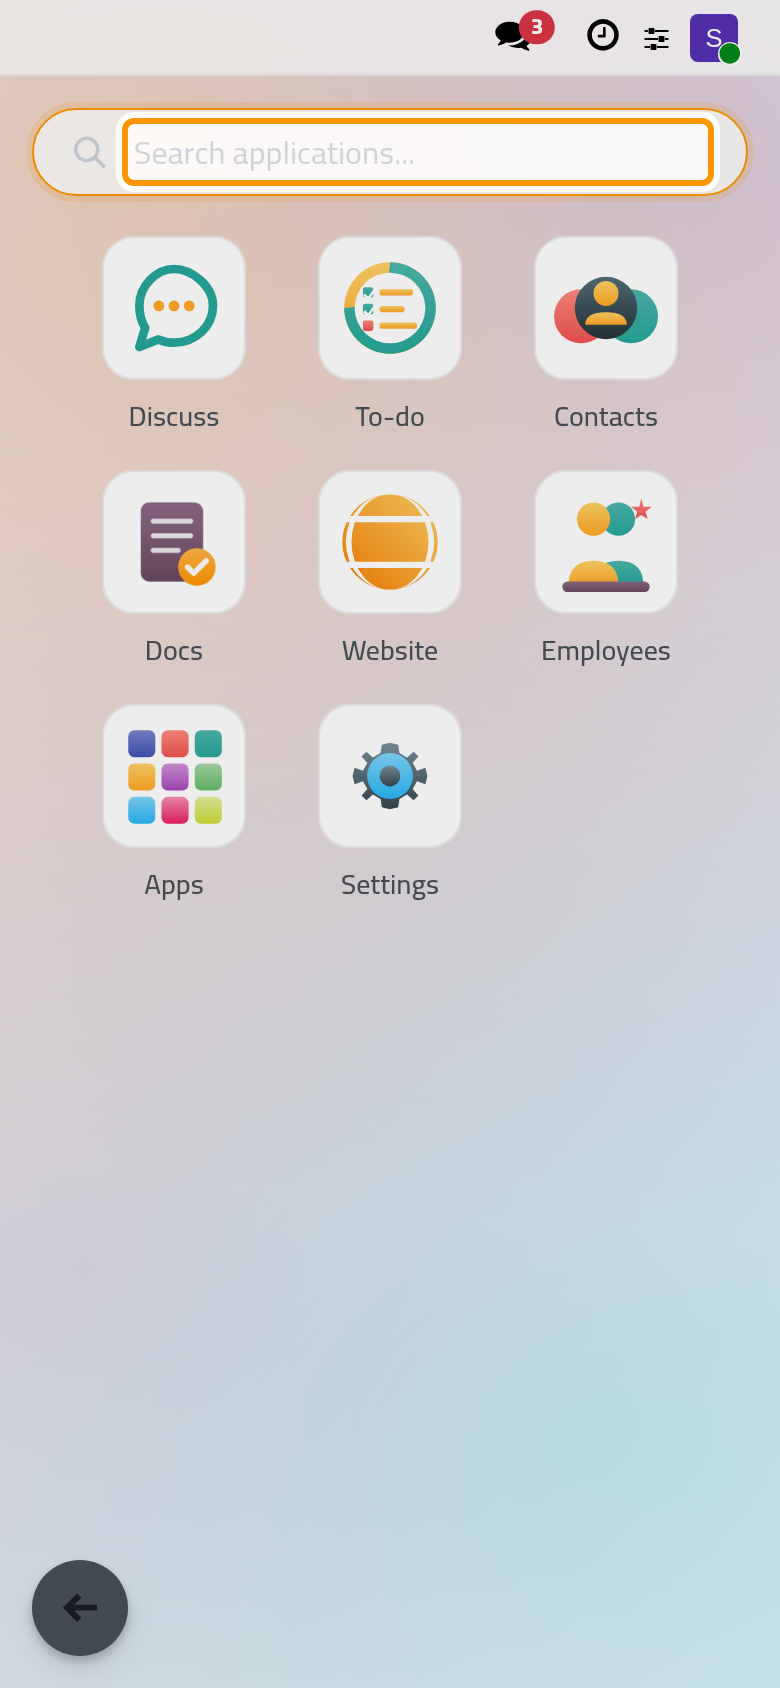
Inside an app, a narrow sidebar runs along the edge of the window with one icon per app; the current one is highlighted, and the icon's tooltip gives the app name. The top bar shows the app name, its menus and, at its end, your avatar. The button at the start of the top bar, Home menu, brings the grid back at any moment; while the grid is open over a screen the same button reads Previous view, and Escape closes the grid.
Part 3: Open Contacts and read a record
Open . The contacts appear as a list: one line per record, with the columns Name, Email, Phone and Country. Click a name to open its form. The form shows the record's fields on one side and the chatter on the other: the history of messages, notes and activities attached to this record.
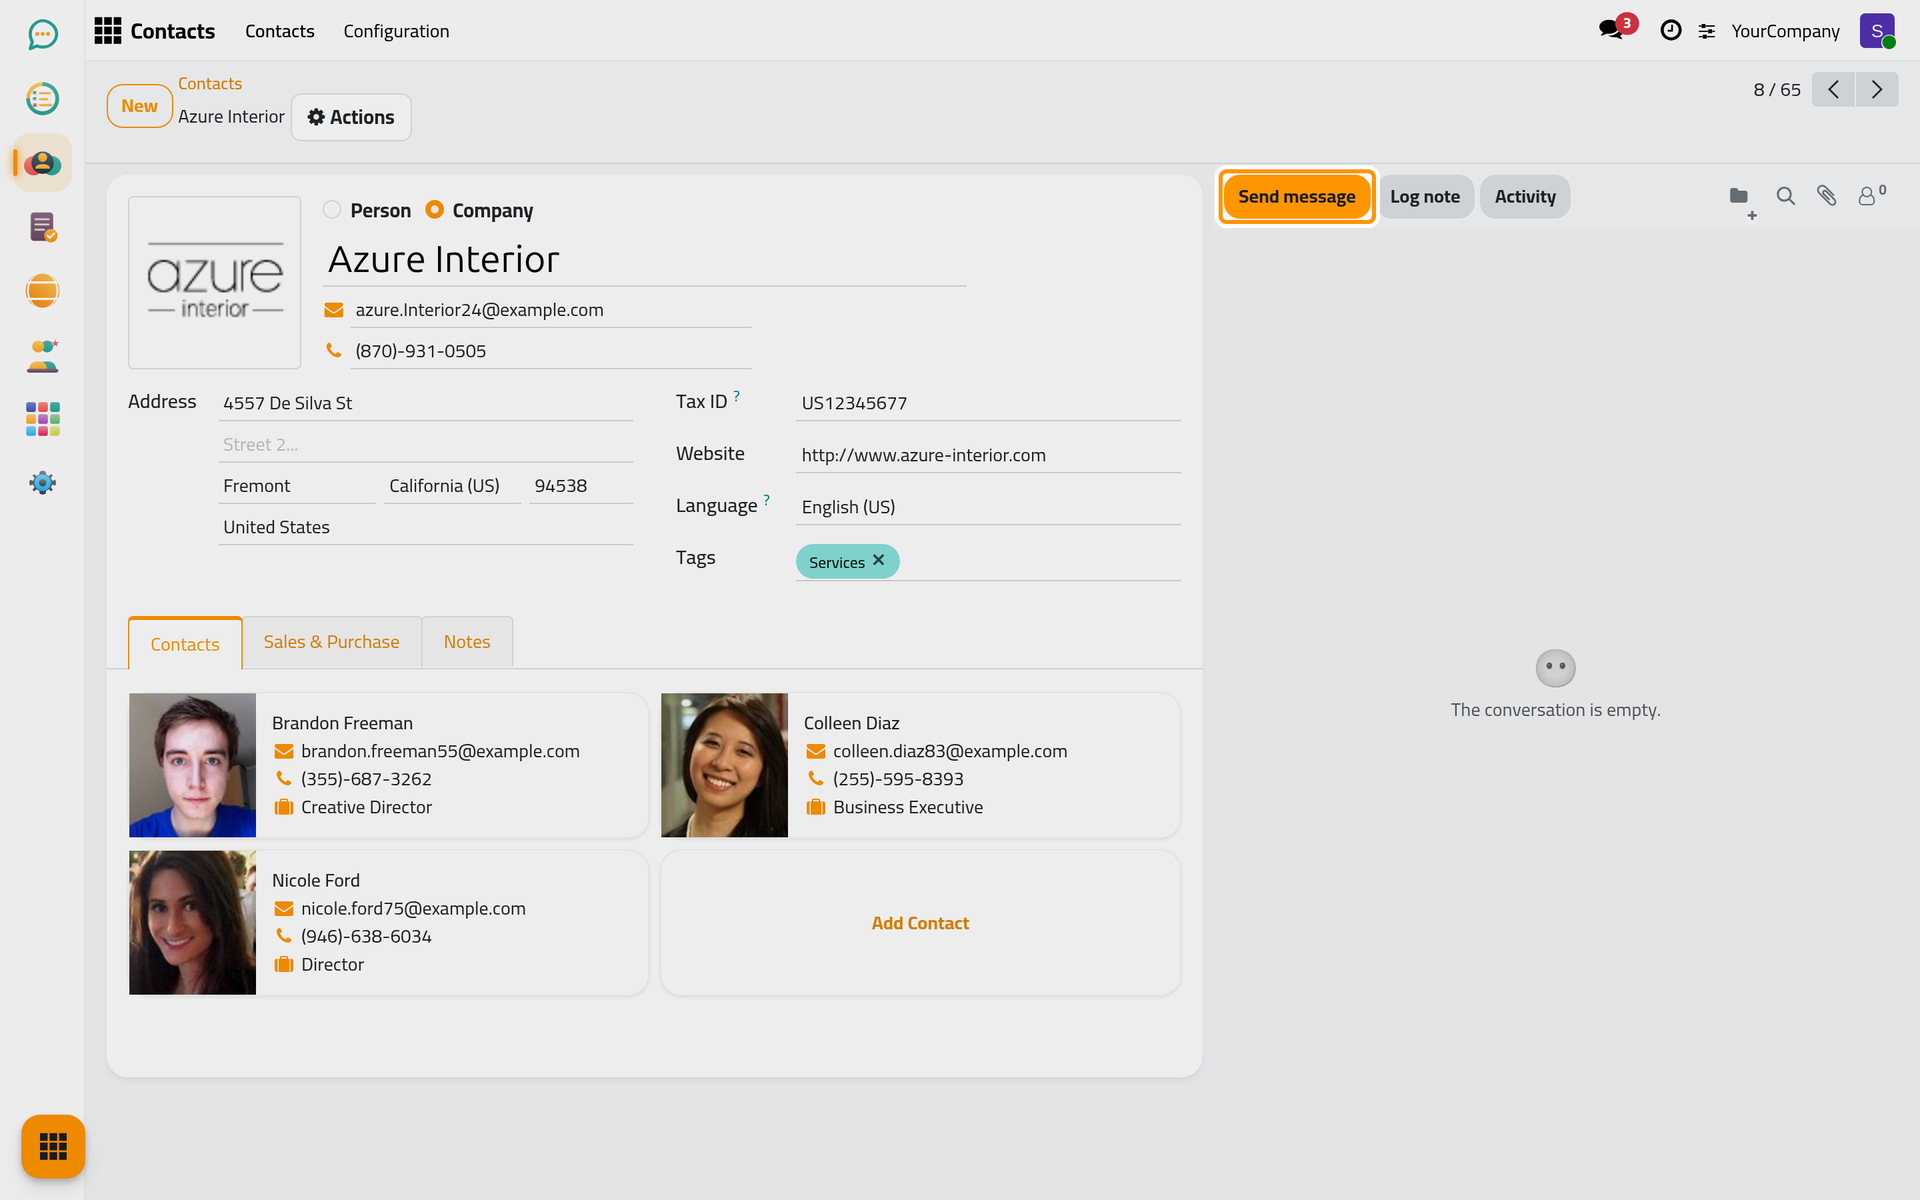
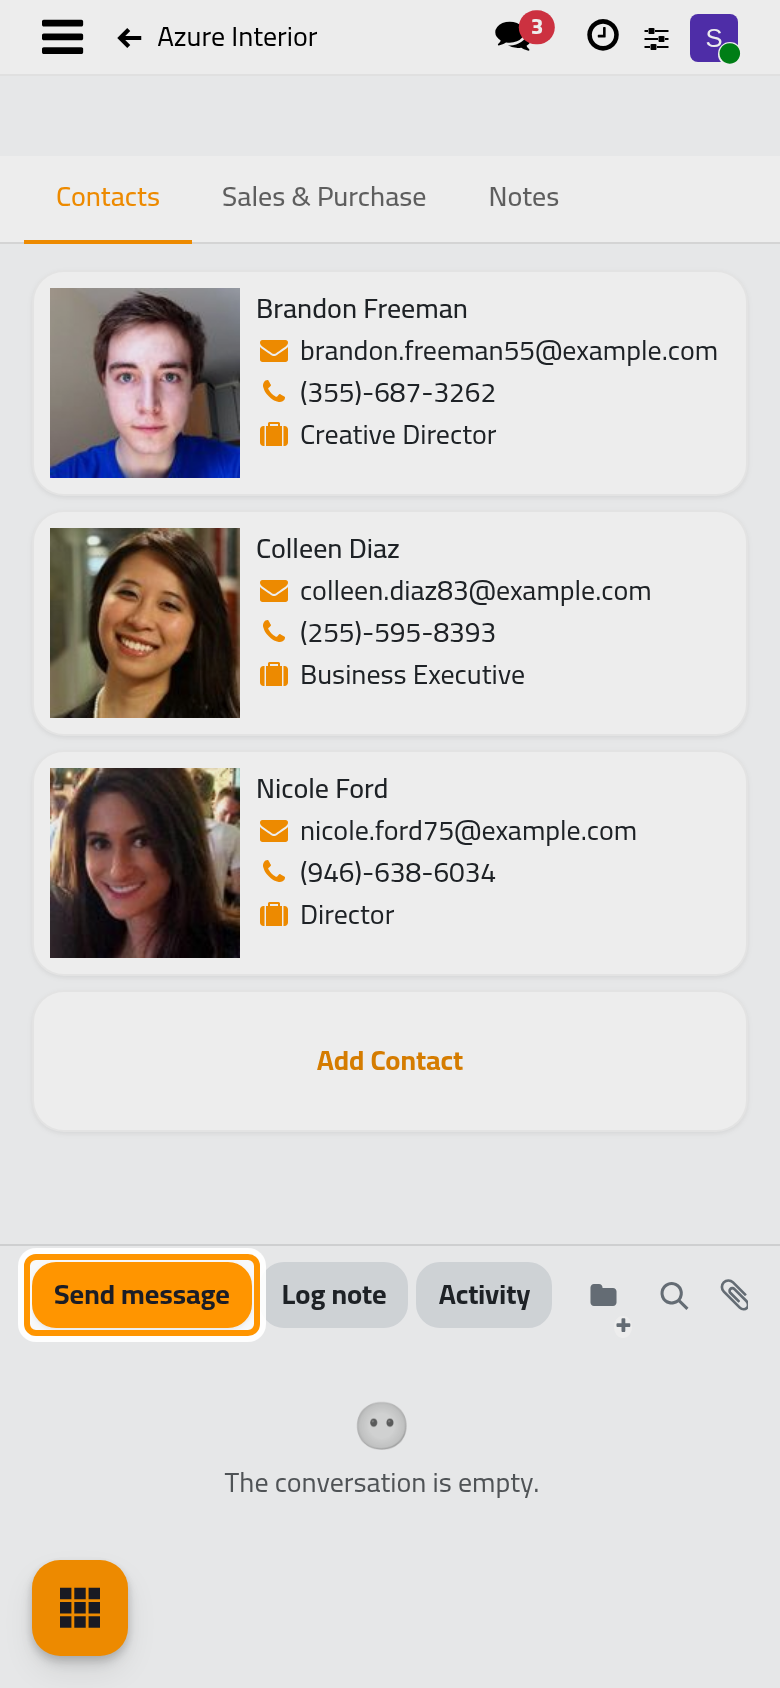
Use the breadcrumbs above the form to return to the list, or the browser's back button. The view switcher at the end of the control panel shows the same records as kanban cards or as a list.
Part 4: Create a contact
In the list click New. An empty form opens. Choose Company or Person with the radio at the top, type the name in the large field (its placeholder reads e.g. Lumber Inc for a company), then fill Email and Phone. There is no Save button: the form saves itself when you open another record or leave the page. To save right away, click the cloud icon Save manually next to the breadcrumbs; the cross next to it, Discard all changes, drops what you typed since the last save.
Part 5: Write a note and plan an activity
Still on your contact, look at the chatter. Click Log note, type in the box Log an internal note… and click Log: the note stays internal, visible to your colleagues on the record, and is not emailed to the customer. Send message does the opposite: the text goes to the record's followers, by email or in their inbox according to the notification setting each of them chose.
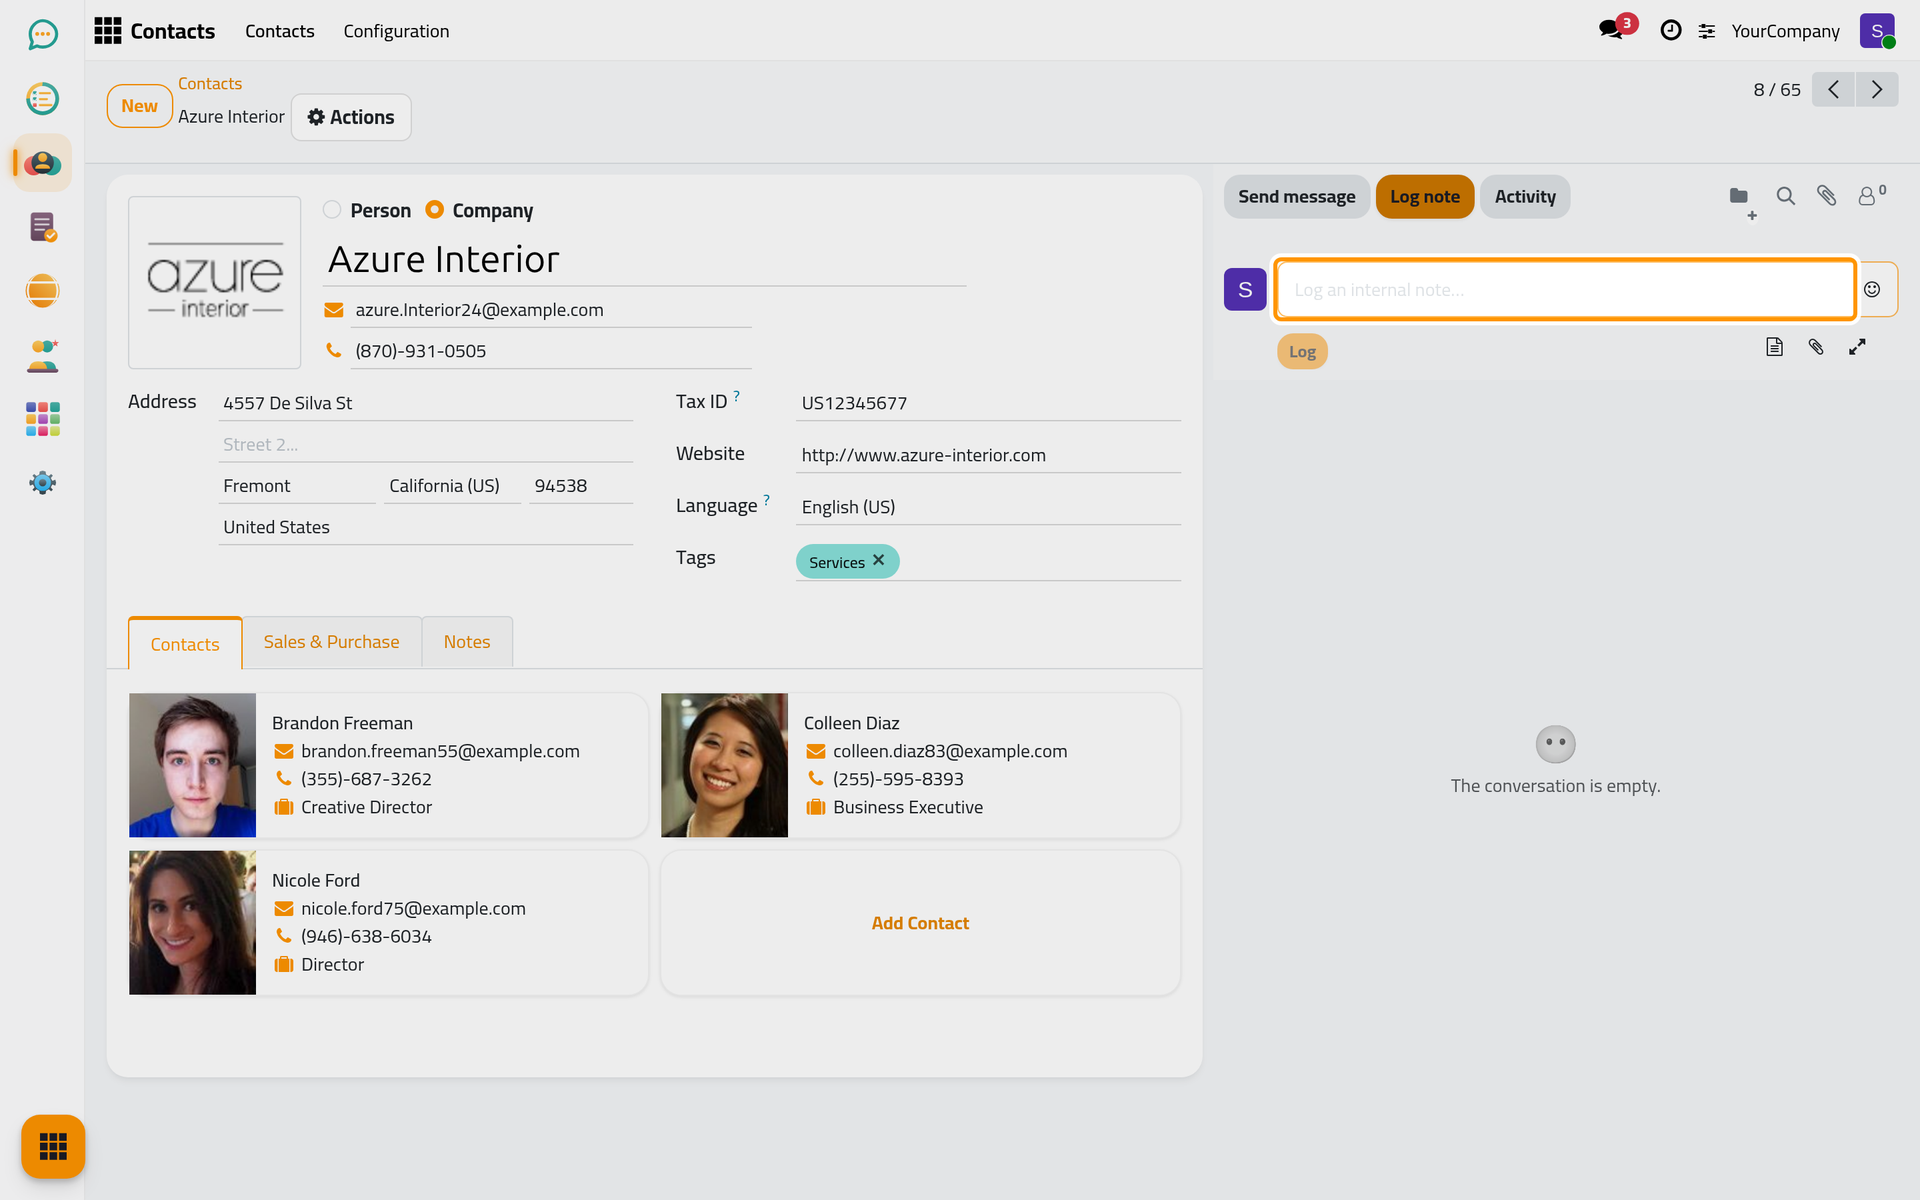
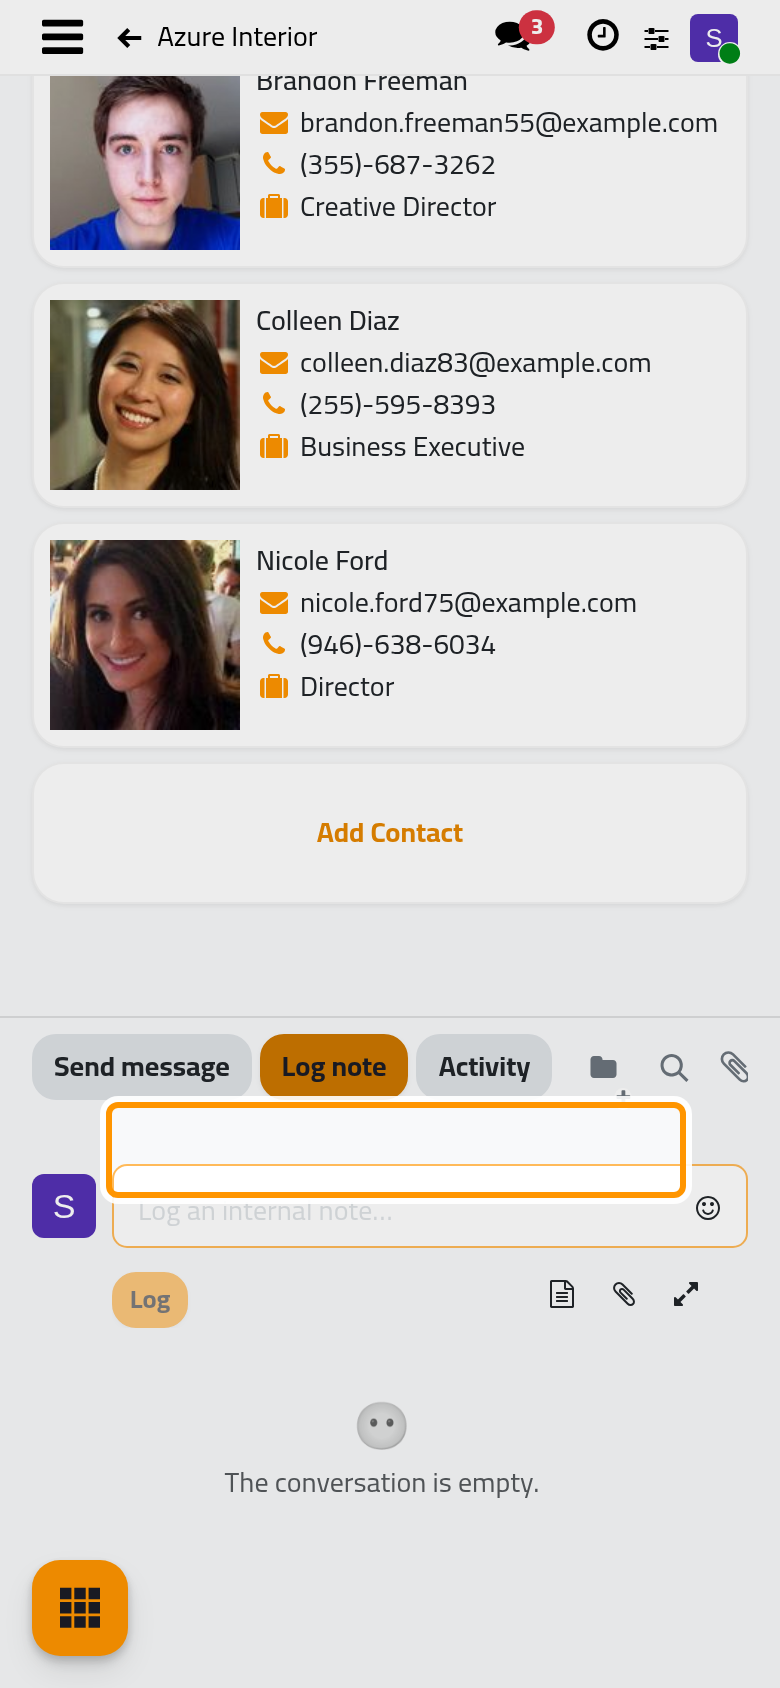
Click Activity to open the Schedule Activity dialog: pick an Activity Type, write a Summary, set the Due Date and the person in Assigned to, then click Save. The activity appears under Planned Activities at the top of the chatter until someone closes it with Mark as done.
Part 6: Search a list
Go back to the list. Type a word in Search... and press Enter: the list keeps only the matching records and a small chip, the facet, shows what you searched for. Click the caret at the end of the search bar, Toggle Search Panel, to see three columns: Filters, Group By and Favorites. Tick Companies to keep only companies, then Country under Group By to fold the list into one group per country.
Part 7: Your preferences, then sign out
Click the sliders icon Settings in the top bar: a panel lets you switch between day and night with its first switch, pick a Background, turn on Glass, choose your Language, and put the Chatter on the Side or at the Bottom of forms. These choices are saved with your user and follow you on every device.
Click your avatar at the end of the top bar and choose My Preferences. The dialog Change My Preferences has three tabs: Preferences for the language and your email signature, Calendar for your timezone, and Security to change your password or enable two-factor authentication. Click Update Preferences to keep your changes. The last entry of the same menu, Log out, ends your session.
Where to go next
- Navigate between apps and menus for the sidebar, the menus and the phone layout.
- Search, filter and group records to save a favorite search.
- Create, edit and delete a record for the Actions menu, archiving and deletion.
- Follow a record: chatter, notes, followers and attachments and Set your preferences for the details of parts 5 and 7.
- How the interface is organized explains the vocabulary used here.
Was this page helpful?
Thank you for your feedback.