Set up the system for the first time
On this page
This tutorial is for the person who receives a fresh Jaah database and has to make it ready for a team. You need the Administrator role (the Role choice in the Access Rights tab of your user): it unlocks and the Apps menu. Everything happens in the Settings app. The left column lists the apps that have settings, General Settings is the first tab, and the page is one long form: your changes apply when you click Save, and the Unsaved changes dialog stops you if you try to leave before.
What you will do
- Complete the company record and the layout printed on every document.
- Invite the first users and decide who is an administrator.
- Add the second language of the team.
- Connect the system to your own email servers.
- Activate the first apps.
Part 1: Complete the company record
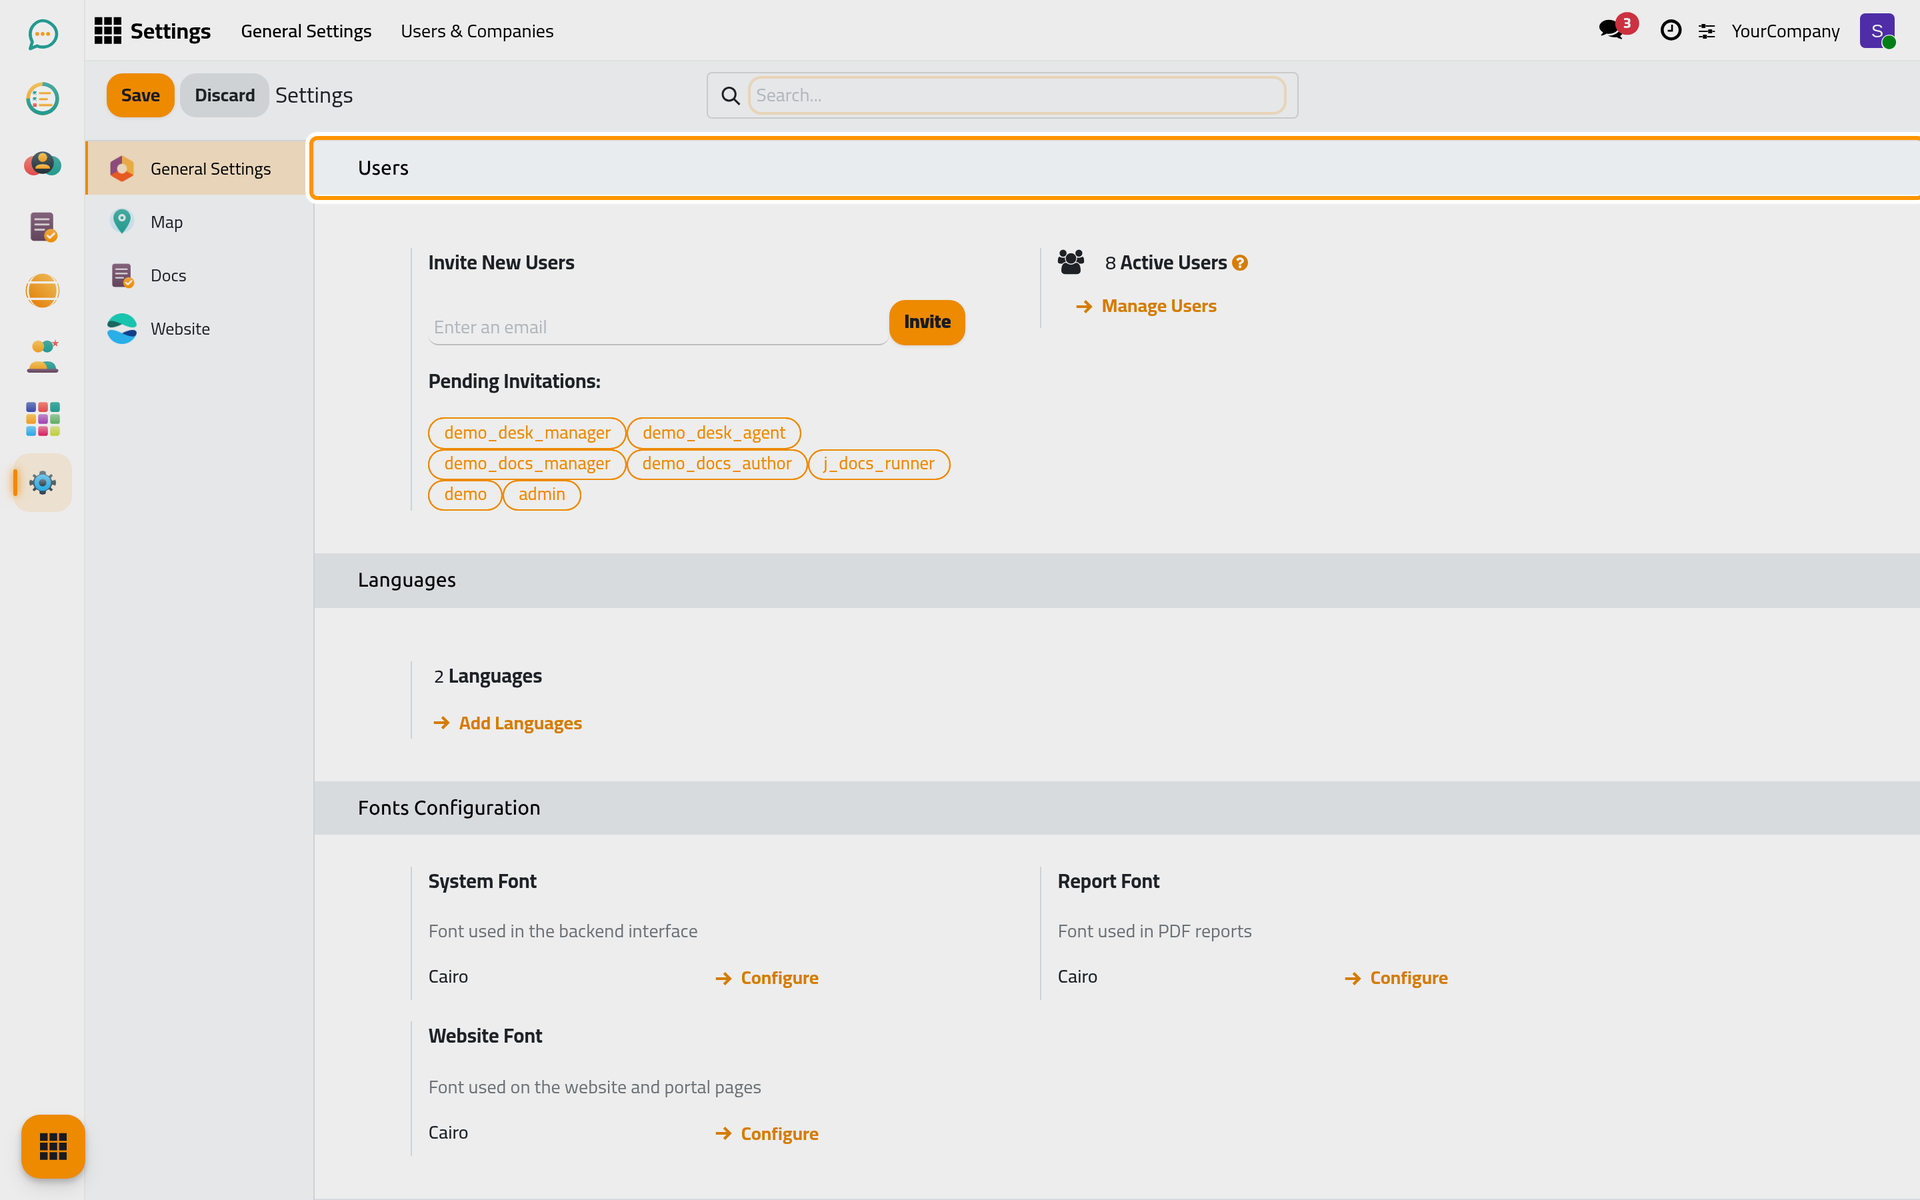
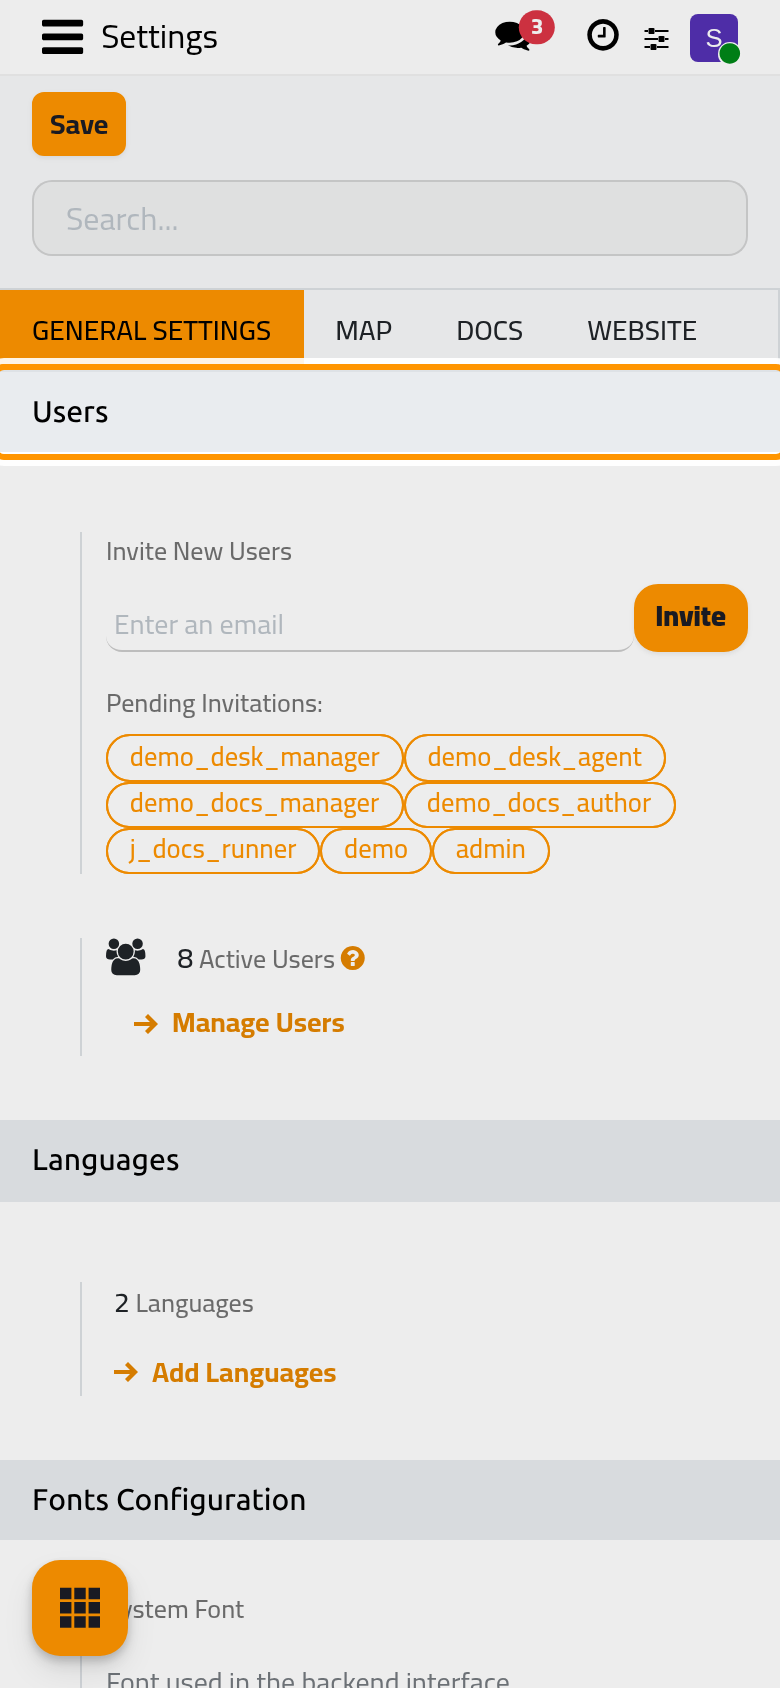
Open . The page opens on the Users block; scroll down to Companies.
The Companies block shows the name and address of the current company. Click Update Info to open its form.
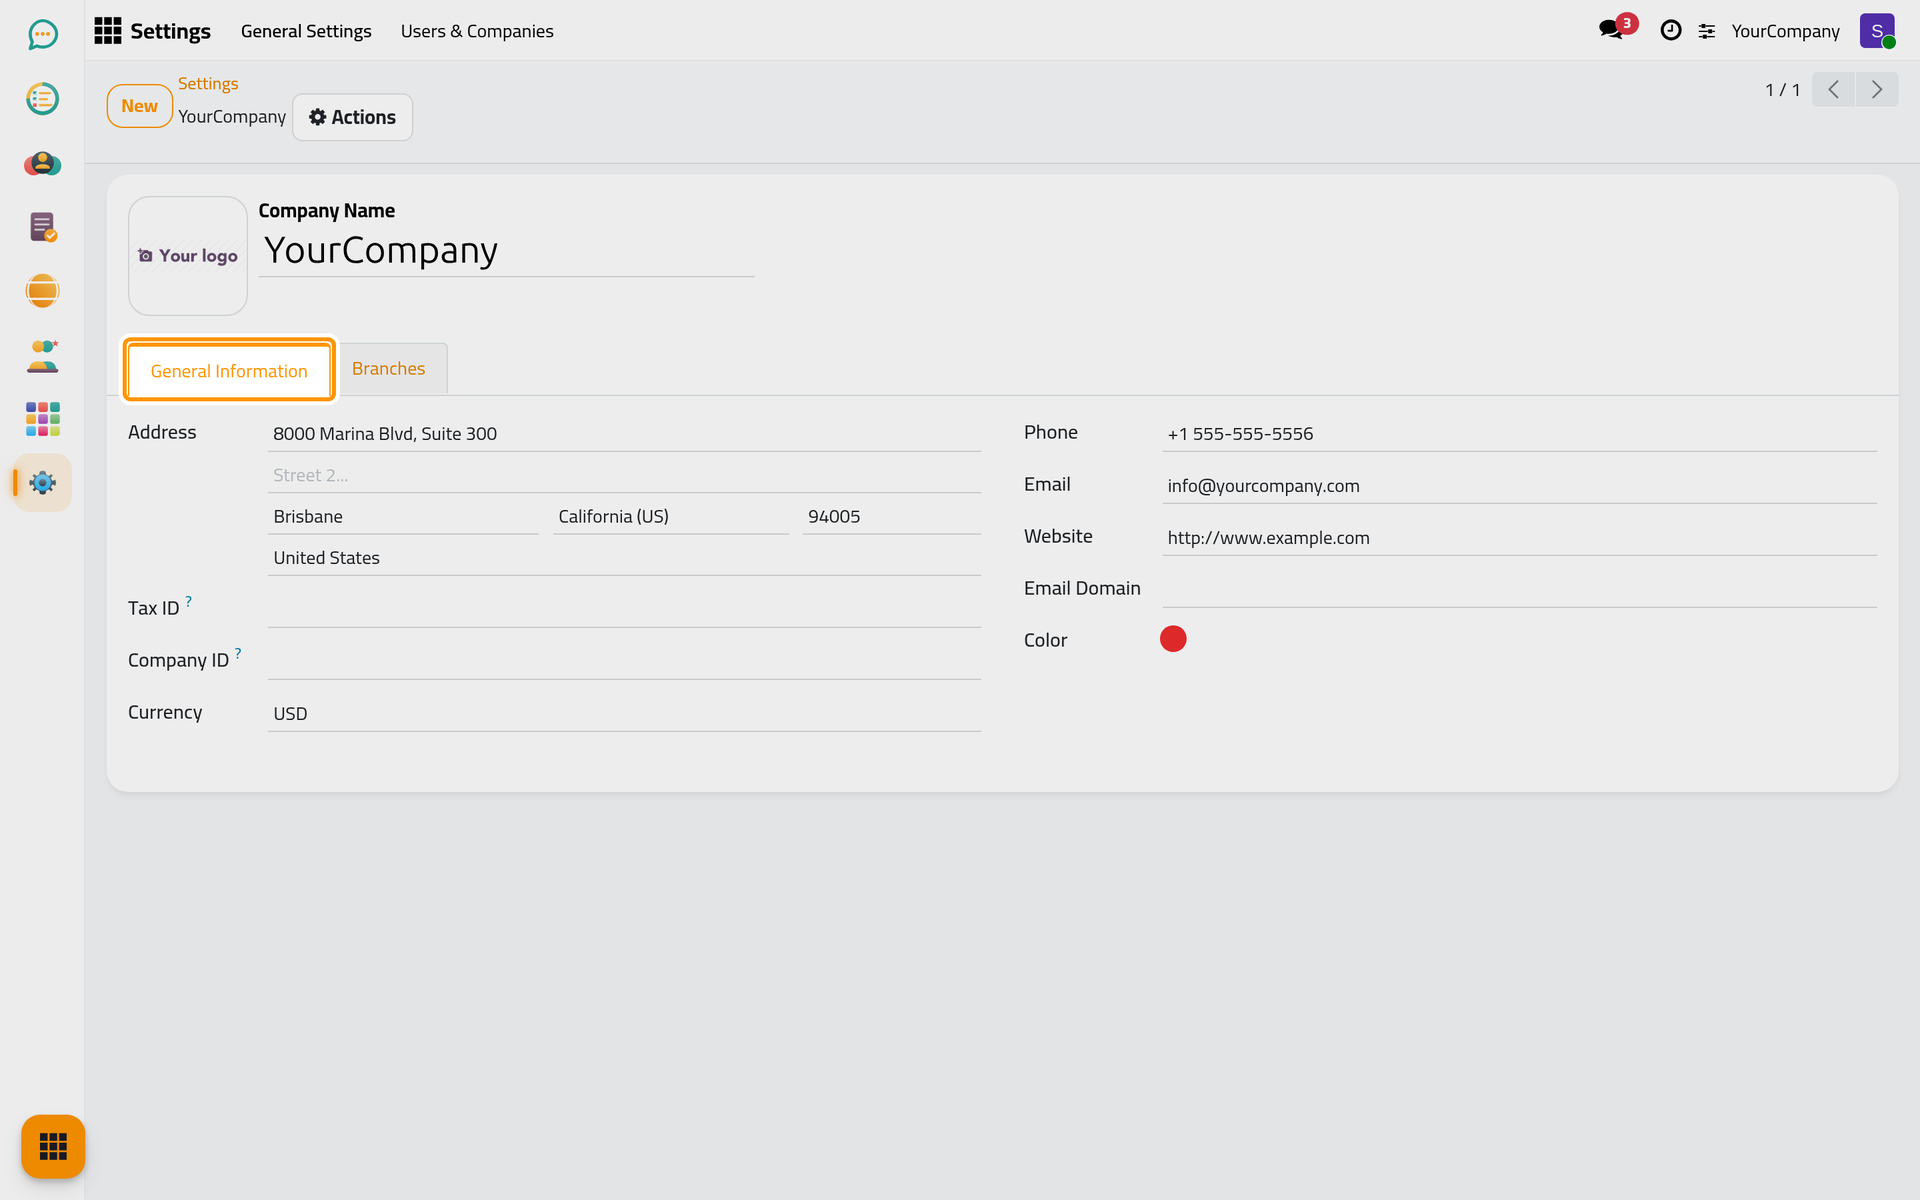
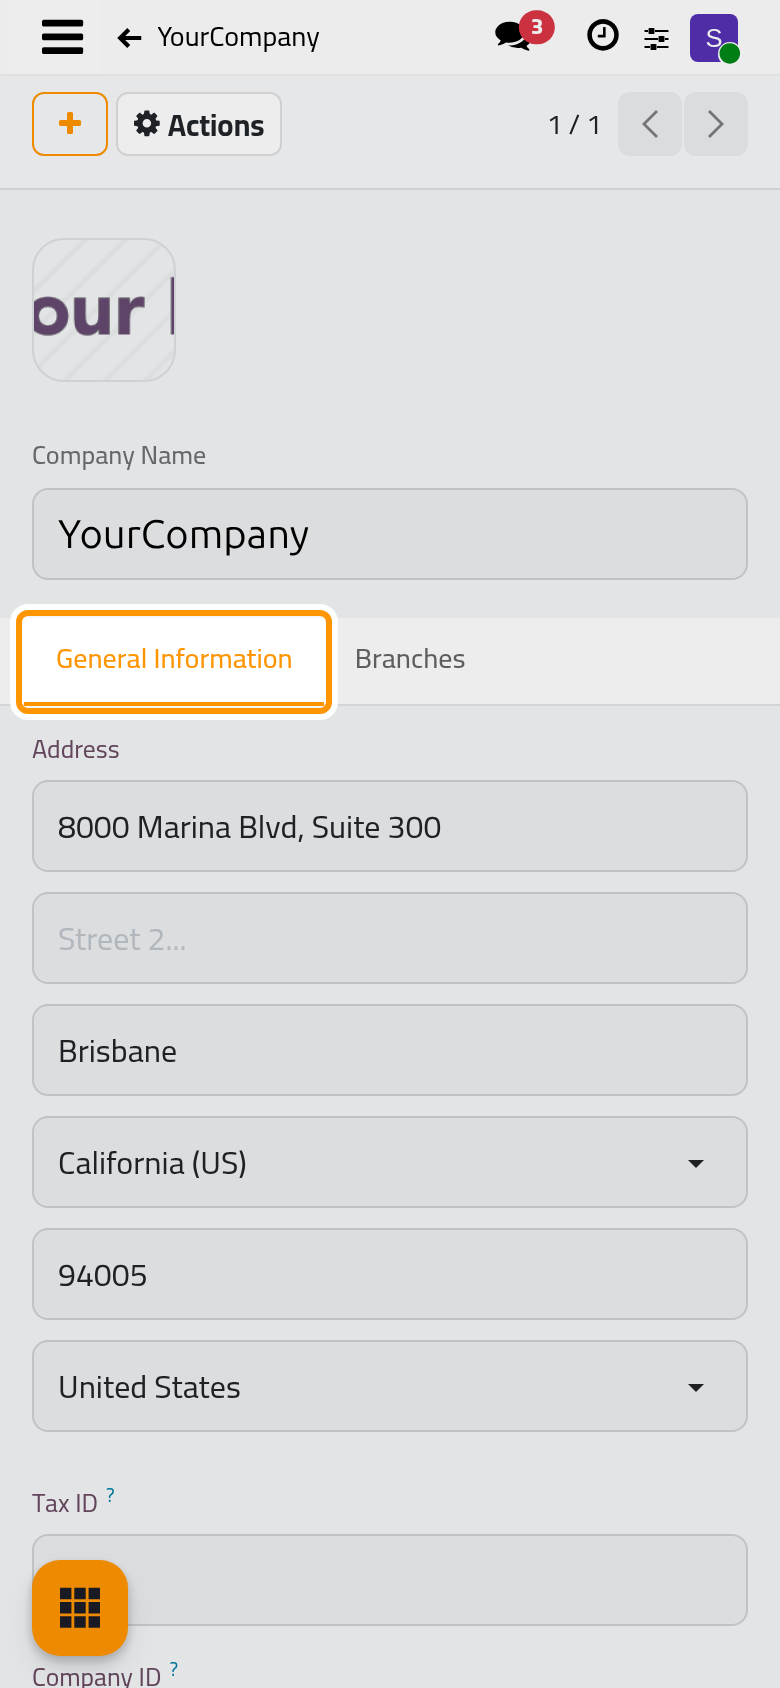
Fill in the General Information tab: the Address (Street..., City, State, ZIP, Country), the Tax ID, the Company ID, the Currency, the Phone, the Email and the Website. Click the image next to the Company Name to upload the logo. The form saves when you leave it; the cloud icon Save manually saves it at once.
Back in General Settings, the Companies block also holds Document Layout. Click Configure Document Layout: the Configure your document layout dialog lets you pick the Layout, the Background, the Text font, the Logo, the Colors, the Address block, a Tagline and the Footer printed on every document; click Continue. The layout belongs to the company, so it is set once per company.
Part 2: Invite the first users
The Users block of General Settings starts with Invite New Users. Type one or several email addresses in Enter an email, separated by spaces or commas, then press Enter or click Invite. A user is created for each address, with the address as login, and an invitation email leaves at once with a link where the person chooses a password. Until their first login they are listed under Pending Invitations:. The counter next to the widget shows the number of active internal users, and Manage Users opens the list.
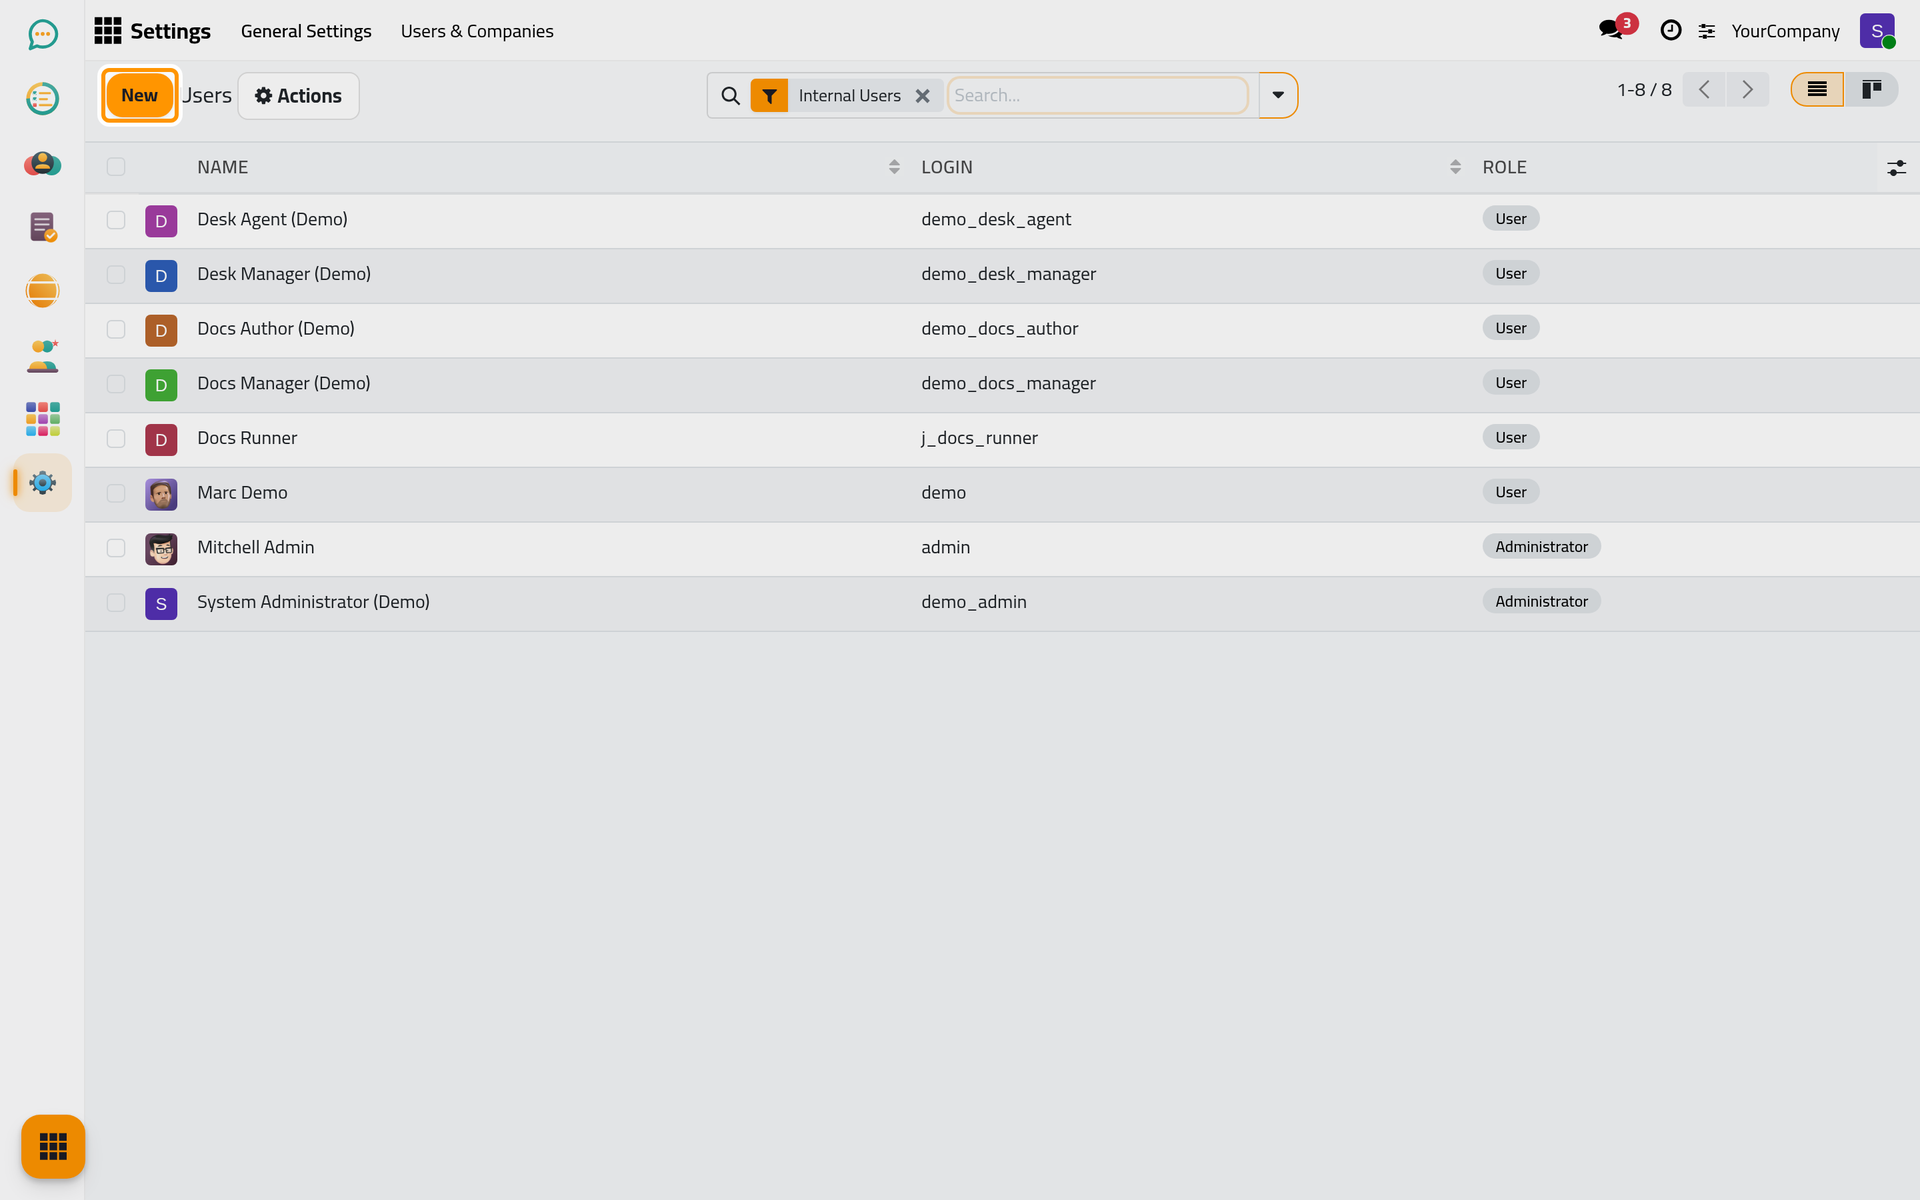
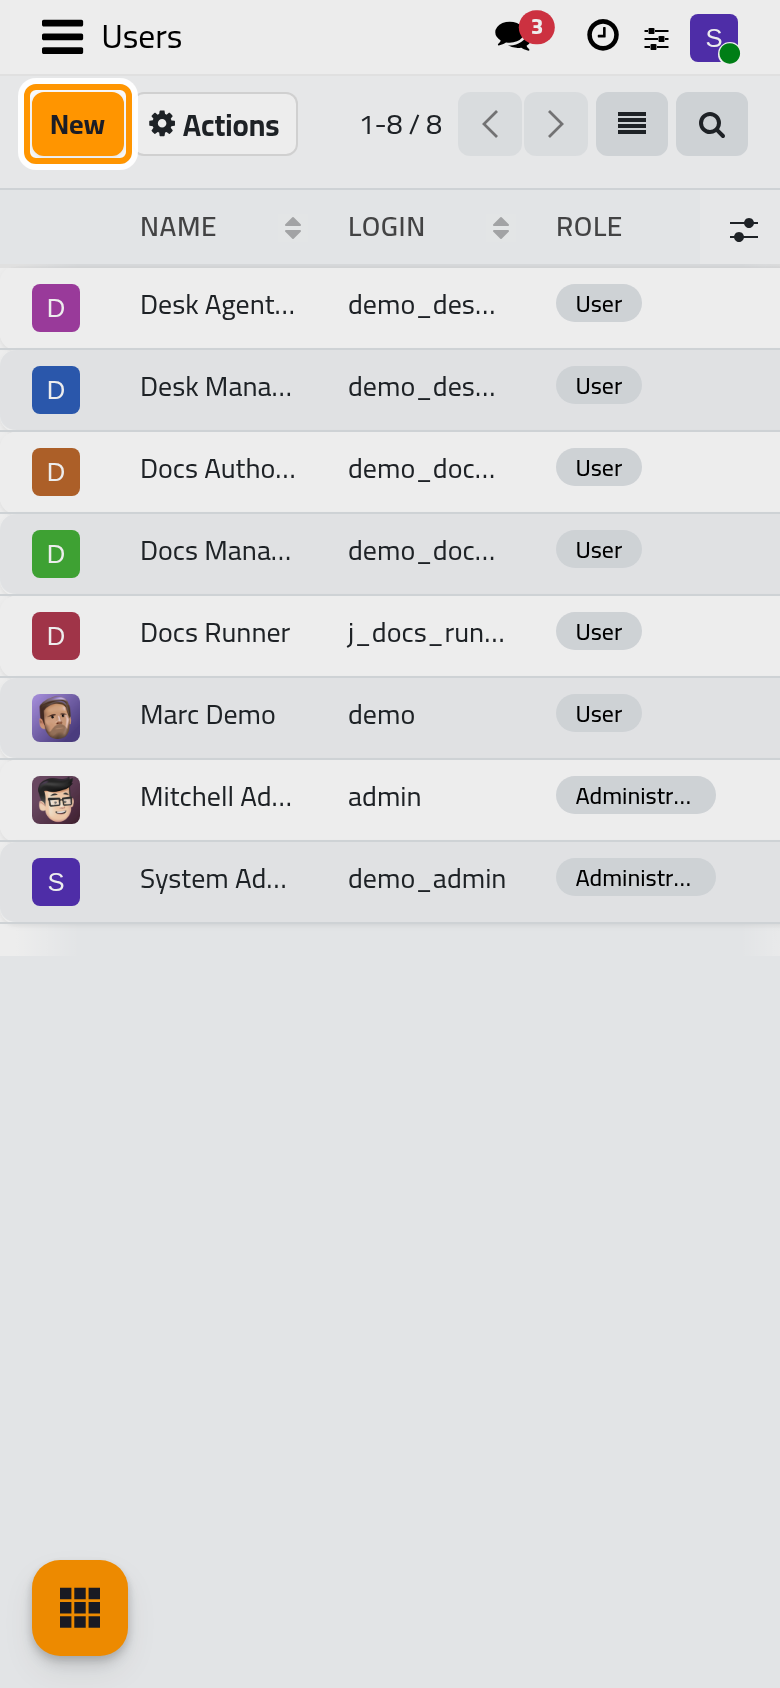
Every invited user starts as a User with the default access rights. To make a colleague an administrator, open , open the user and set the Role to Administrator in the Access Rights tab. The levels per app and the password options are in Create a user and set access rights.
Part 3: Add a language
In General Settings, the Languages block counts the active languages. Click Add Languages: the Add Languages dialog has one field, Languages; pick the language to add and click Add. The translations of every installed app are loaded with it. When you add a single language, a second dialog, Switch to language, offers to switch your own user to it right away, or Close to stay as you are. Each person then chooses their language in the Preferences tab of their user, in the Language field. The rest, including how to update a translation, is in Languages and translations.
Part 4: Connect your email servers
In General Settings, the Emails block holds Use Custom Email Servers. Tick it and click Save: two links appear, Outgoing Email Servers for the server that sends the system's mail and Incoming Email Servers for the mailboxes the system reads. The same block carries the Alias Domain used for the addresses the system creates. The server records themselves, with their test buttons, are described in Email: outgoing and incoming servers.
Part 5: Activate the first apps
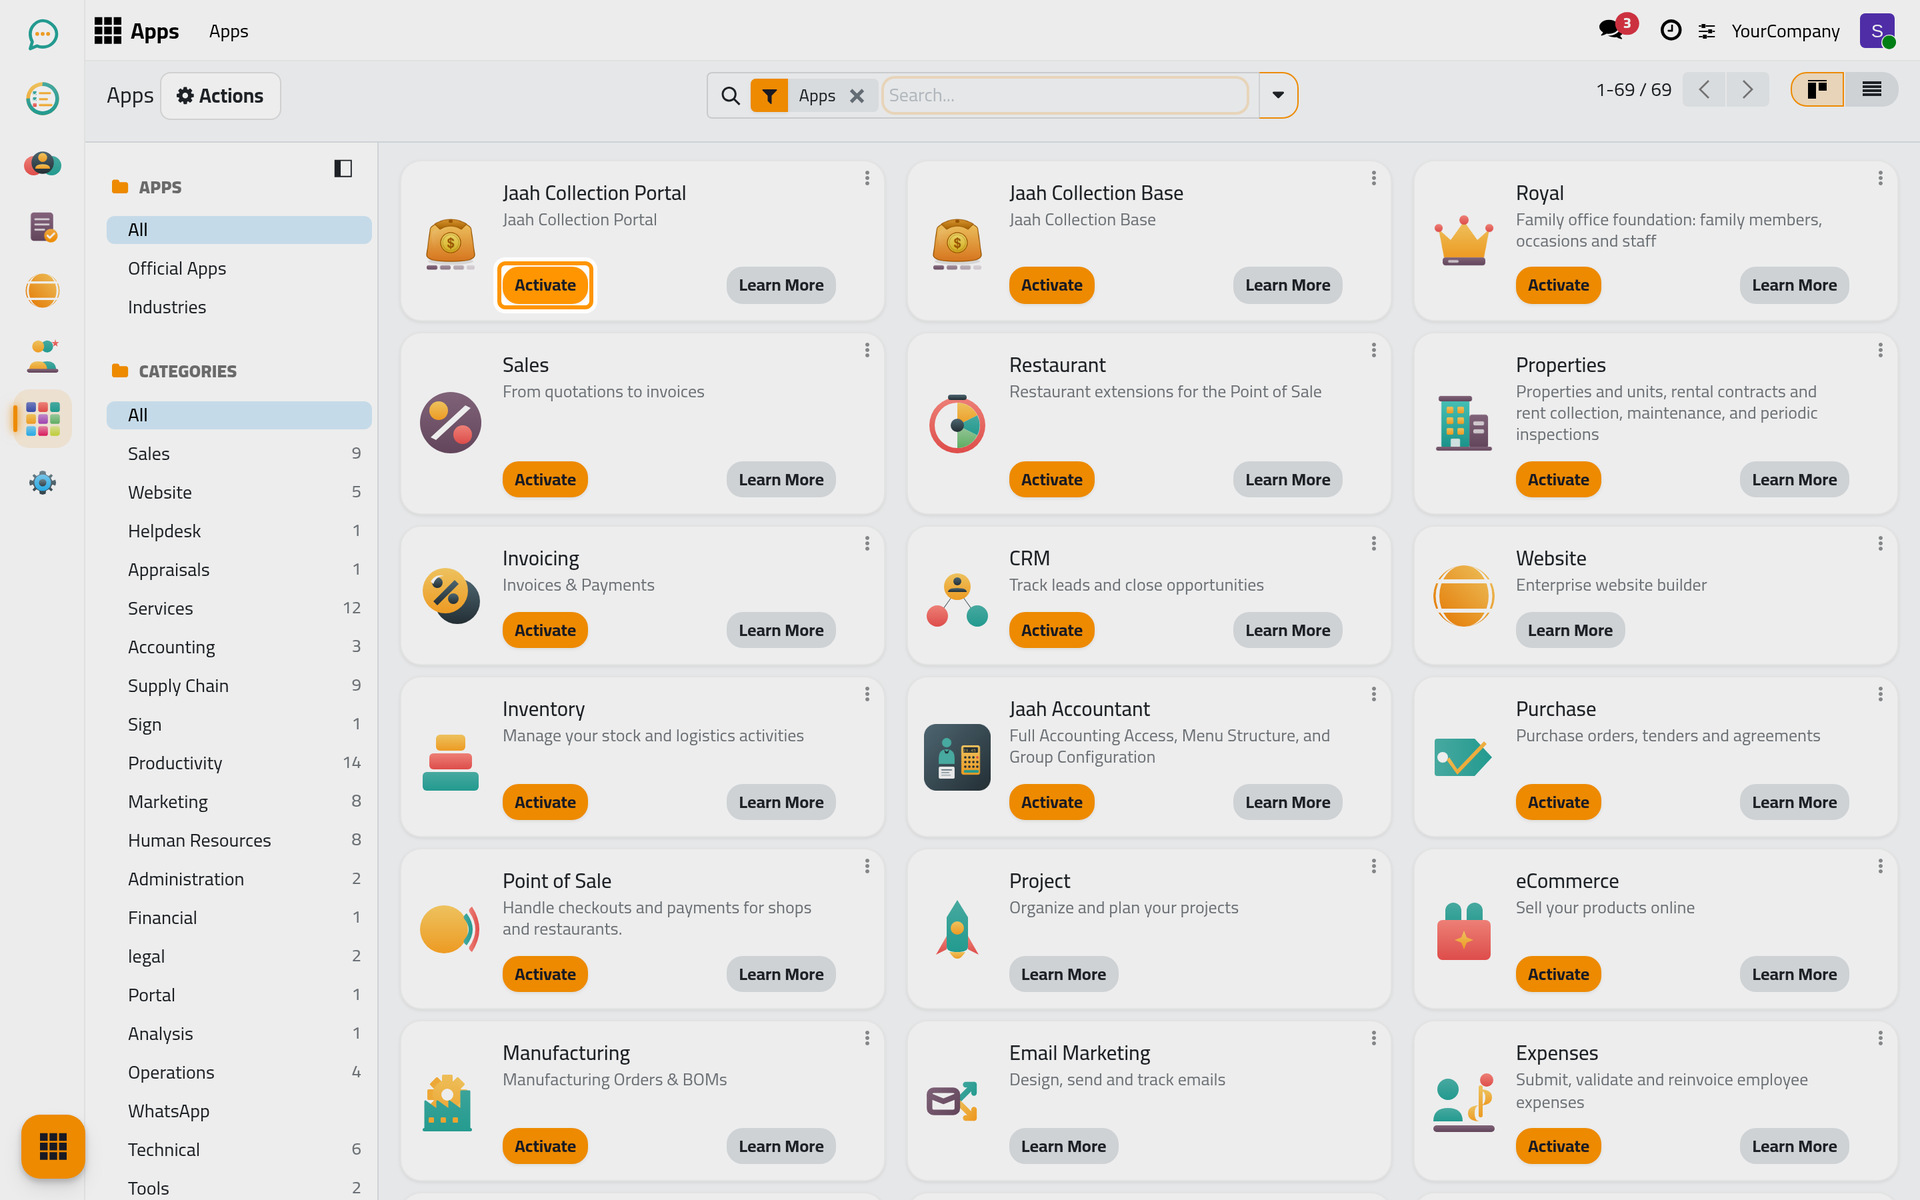
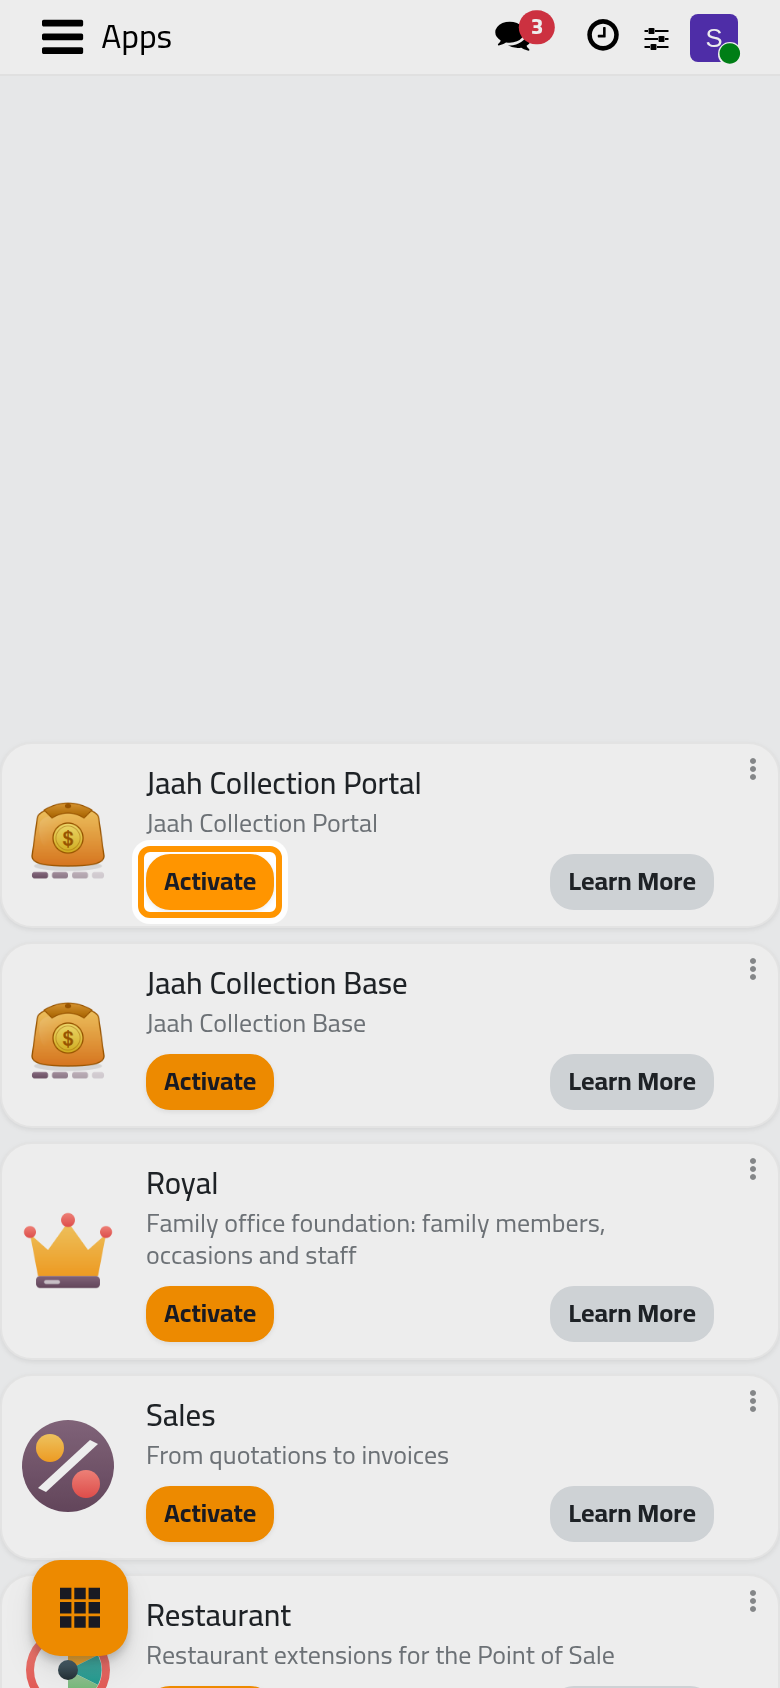
Open . The page lists the applications with the Apps filter; type a name in Search..., press Enter and click Activate on the card. The app is installed with its dependencies, the interface is blocked while it happens, then it reloads with the new menu. Upgrading and removing apps, and the warnings that go with them, are in Install, upgrade and uninstall apps.
Where to go next
- Create a user and set access rights for the levels per app, passwords and archived users.
- Companies and multi-company when you manage more than one legal entity.
- Developer mode and the technical menus before you open anything under Technical.
- Access rights: groups, rules and what they mean to understand what the Role choice changes.
Was this page helpful?
Thank you for your feedback.